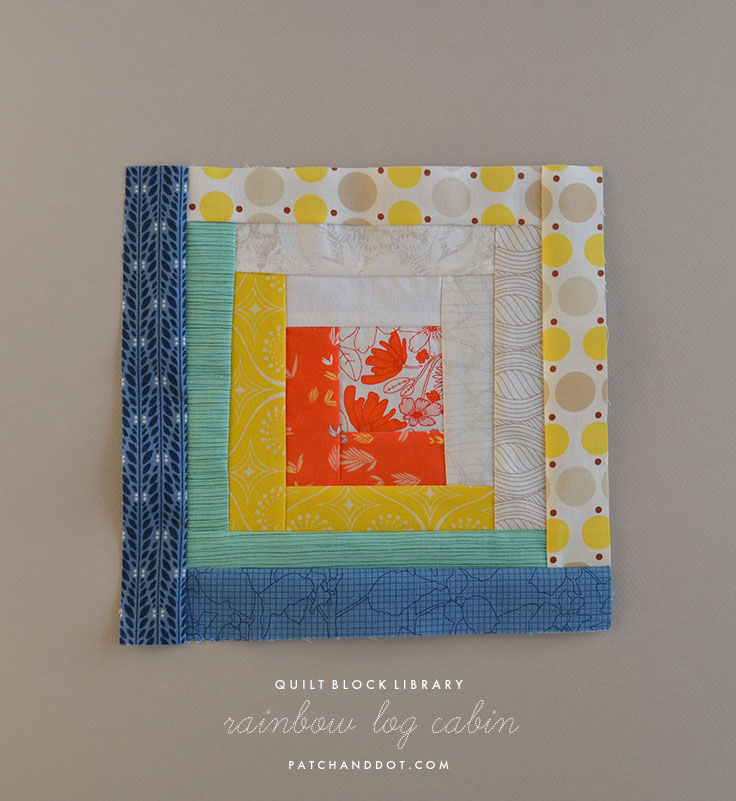
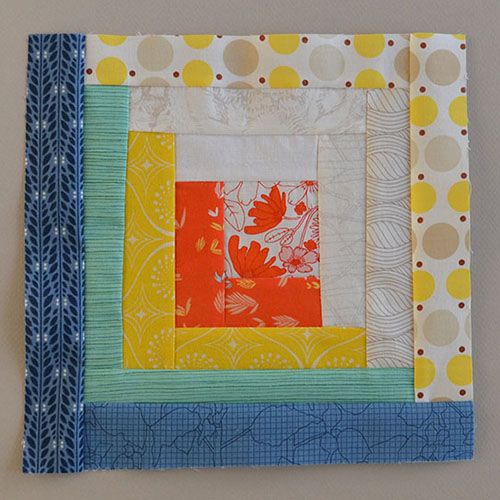
This week I tried my hand at a log cabin block, and I took notes! The following steps will get you one rainbow log cabin block with a finished size of 9.5 inches (so that’s 9 inches after it’s joined up with other blocks). For a bigger block, simply add more strips.
Materials
- thread
- 1 2.5 x 2.5 inch piece of fabric for the center (I chose a print that combines the colours of the first coloured and low-volume strips)
- 10 assorted white or low-volume strips, 1.5 inches wide
- 2 each of 5 different coloured strips, 1.5 inches wide – you can see I left out purple and orange but doubled up on blue, and you can improvise accordingly to get the rainbow you want
If you don’t want to wing it on the strip lengths, see the steps below for specific measurements. Consider the lengths listed to be a minimum recommendation. I like every strip to be at least a half an inch longer than the side it’s being sewn to; sew one strip, trim it up (as pictured at right), then continue.
Steps
- Cut the following pieces and sew them together in the order illustrated in the photo below. So, so piece B to the top of piece A, piece C to the right of pieces A and B, and so on, trimming up after each step.
- 2.5 x 2.5 inch center square
- 2.5 x 1.5 inch red strip
- 3.5 x 1.5 inch red strip
- 3.5 x 1.5 inch white strip
- 4.5 x 1.5 inch white strip
- 4.5 x 1.5 inch yellow strip
- 5.5 x 1.5 inch yellow strip
- 5.5 x 1.5 inch white strip
- 6.5 x 1.5 inch white strip
- 6.5 x 1.5 inch green strip
- 7.5 x 1.5 inch green strip
- 7.5 x 1.5 inch white strip
- 8.5 x 1.5 inch white strip
- 8.5 x 1.5 inch blue strip
- 9.5 x 1.5 inch blue strip
- Square up the block.
Notes
The instructions above are for a single block, and you can use them to make as few or as many as you like. For a great way to make a bunch, assemble-line style, check out this method from Stitches in Play.
photo credit : patch + dot, all rights reserved (but feel free to share, of course!)


Great block, love all your bright colours.
Thank you Pam!
I love your fabric choices! So pretty and bright.
Thanks Cathy!
Awesome block and fantastic tutorial! Thanks for linking up to Building Blocks Tuesday. I hope to see more fabulous blocks from you soon.
Thank you for stopping by!
ohhh, I love your quilt block series, that’s so helpful! And it’s super neat how you put a super modern spin on something as traditional as a Log Cabin block. Carolyn Friedlander always goes!! =)
Thanks! (I am just dying to break into my small Doe stash.)
I love the log cabin block. It’s one of my favourites but I’ve never made a log cabin quilt! I am curious about the block library. Is this a personal challenge to make a sampler quilt? I ask because that would be a great idea. I live sampler quilts.
Hi Nita – yes that’s exactly it. Initially my plan was just to create a reference full of instructions for myself (and hopefully others will find it useful) … but as soon as I started I quickly realized I was going to have a sampler on my hands before too long! So I’m going to keep the next 10 blocks (at least) in the same colour palette as the log cabin block and flying geese block, then start putting them together.
Log cabin blocks are on my to make list someday. You have a great tutorial. Thanks for sharing.
Thanks for stopping by Karen!
What a lovely, fresh log cabin block!
Thank you Emmajane!
I love the combo of low volume + color for these blocks. This is gorgeous!
Thank you very much Rebekah
Thanks for sharing. Love the fabric and colours you have used.
Thanks for coming by!