Something that surprised me when I first started quilting was that most quilt patterns teach you how to make a quilt top, but stop short of telling how to actually finish the quilt. Little details like basting, binding, and, you know, quilting the quilt. Of course now I realize that including all of this would probably make patterns prohibitively long. And the truth is that there are many “right” ways to do each task, and you are going to come by your own favourites over time, so reproducing these steps in each pattern (when quilters are mostly going to skip over them in favor of their preferred methods) would be pretty redundant.
So where do you find out how to finish that first quilt? If you don’t have access to a local teacher, luckily there are hundreds (thousands?) of free tutorials available, both written and visual. For me, I’ve found that the way I learn best is by watching and doing. I could read instructions a half dozen times and still find myself coming back to pore over them each time I need them. But I can watch a video once or twice and then I’ve got the technique forever.
With this in mind I’ve decided to round up all of my favourite videos (plus one book) covering all the steps you need to finish a quilt: basting, quilting, and binding. As I said, there are many different ways to do each of these things – these videos represent the exact methods I use to finish mine.
Basting
The two main ways to baste a quilt are pin basting and spray basting. My preferred method is pin basting, and for this you’ll need a set of curved safety pins. Spray basting involves a special spray adhesive that you can buy at most craft stores. Since so many of my quilts go to littles, I steer away from spray basting because of the chemicals. (No idea whether this fear is founded or not, it may well be perfectly safe!)
For both methods you will create a quilt sandwich as your first step. All of this is explained step by step in these videos:
Spray basting for machine quilting
Now, all of the above applies if you plan on doing the quilting yourself. If you plan to send your quilt to a long armer (more on this below), you typically don’t baste it beforehand as they will feed all of the layers into the machine as-is.
Quilting
There are a few different options when it comes to quilting, and the route you take will depend a lot on the size of the quilt and the equipment you have.
Hand-tying a quilt is a very sweet old-fashioned and fool-proof way to keep the layers of your quilt together, and it’s perfect for baby quilts. I did all of my early baby quilts this way when I didn’t have a machine that I was confident could handle the quilting part.
If you have a sewing machine with a walking foot, you’re set. I use the Bernina 350 Patchwork Edition, which comes with both a patchwork foot and a walking foot, to machine quilt everything from mini quilts to small throw quilts.
For anything larger than this, I send my tops to a local long arm quilter. How do you find a long arm quilter? The best way is to ask quilters you know. (I put a call out on Instagram and was able to get local recommendations for an amazing and trusted long armer.) If you go this route, refer to your long armer’s specific requirements as far as how much backing overlay they need from you etc., as it may vary from person to person and machine to machine.
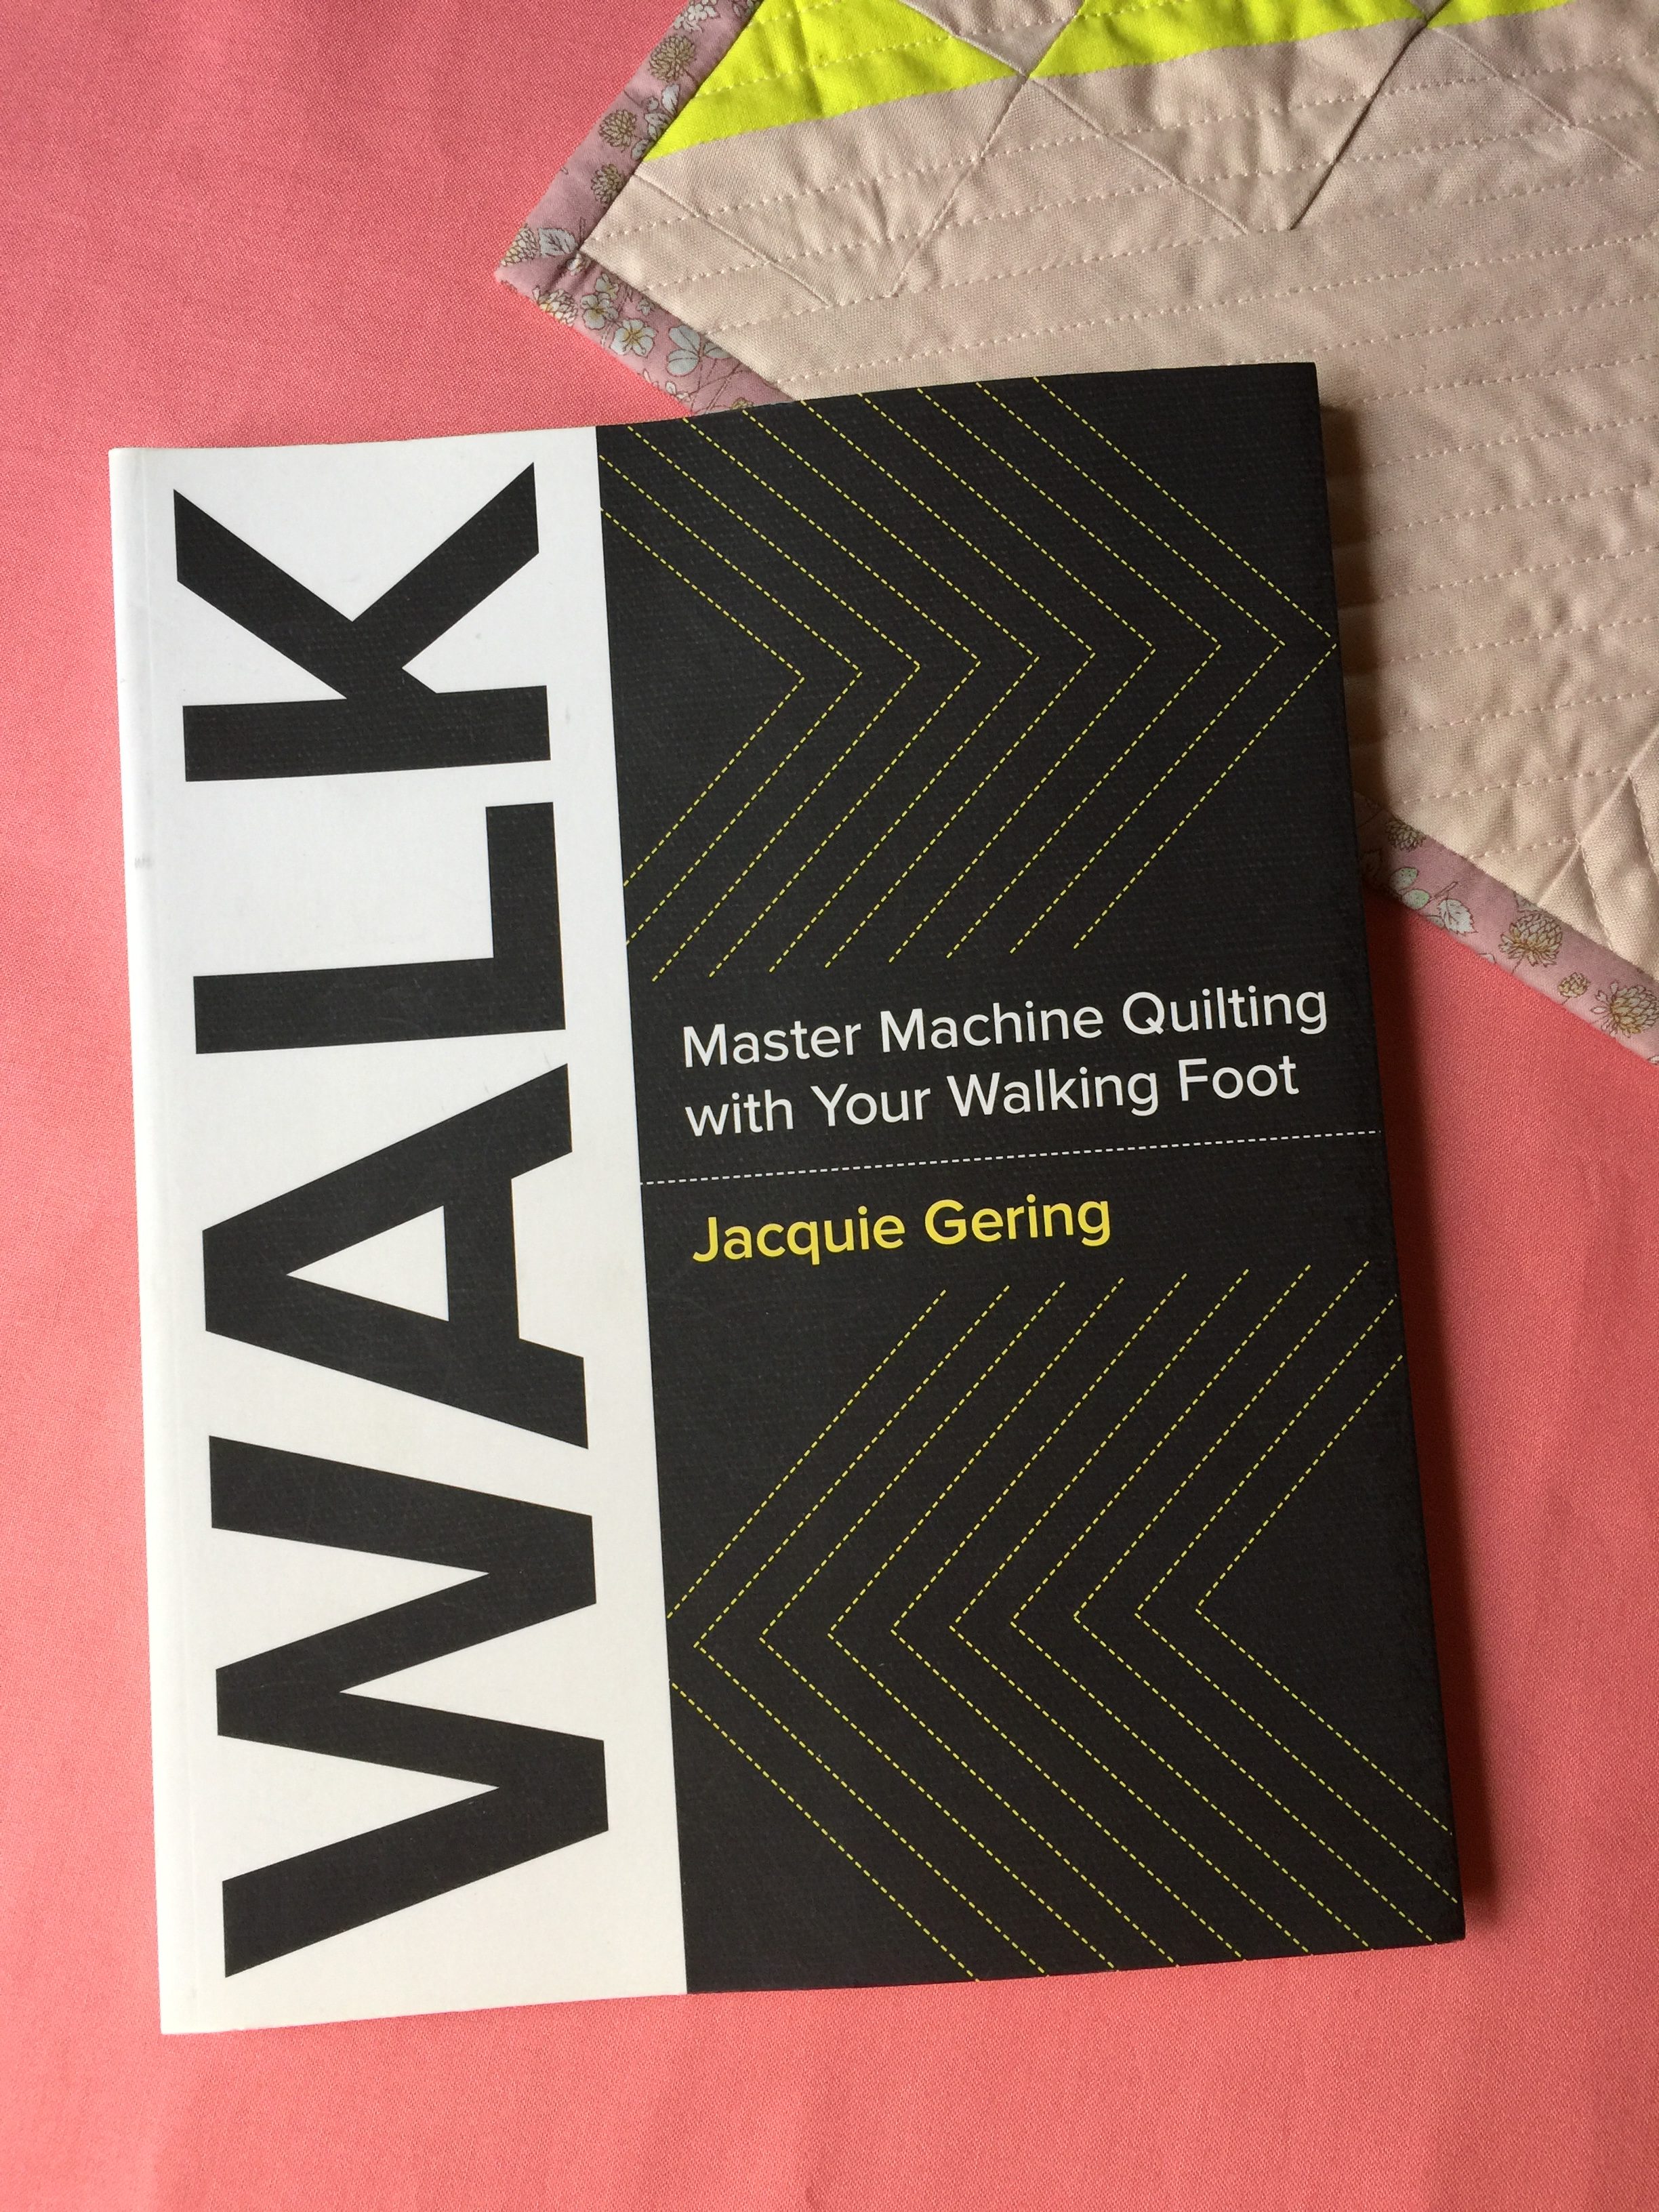
And a book recommendation: Walk: Master Machine Quilting with Your Walking Foot, by Jacquie Gering. I used to get pretty stuck when it came to the actual quilting part of quilting. I tended to struggle with the design part of it, and then rush through the whole process. This book changed everything for me, opening my eyes to what was possible on a domestic sewing machine and really building my confidence.
If you prefer videos, Jacquie has a class on the same subject over at bluprint: Creative Quilting With Your Walking Foot.
Binding
This is how I bind my quilts: join the binding on the diagonal (including the pieces at the end), machine sew to the front, mitre the corners, flip the binding over and hand sew to the back. There are ways to do it that involve machine sewing for both steps, but for me there’s nothing more relaxing than cozying up on the couch to do that last step by hand.
Bonus: quilt sleeves and labels
Two things that are totally optional but which you will probably have reason to try if you make enough quilts: adding quilt sleeves and labels.
Quilt sleeves are usually required if you’re entering or displaying your quilts in a show (and when you just want to hang it on your own wall). This video from Fons & Porter is how I learned to make one:
How to make a hanging sleeve for your quilt
(There are also instructions for using the corners-only method for small quilts in my post over here: Turn a mini quilt into a wall hanging.)
Finally, quilt labels. This is something that I haven’t started doing yet myself. It’s the one step that, without fail, I run out of time for when making quilts as a gift. This year I’m determined to make it part of my process, and I think I’m going to use either printed labels that I design myself and print at Spoonflower, or make cross-stitch labels. There are so many other methods (embroidery, fabric pens, pre-printed labels)! This video has tons of tips if you are interested in making labels from scratch, including how to affix them:
Share on Pinterest:
This post contains affiliate links. I only recommend products and classes that I have purchased myself or from teachers I trust.