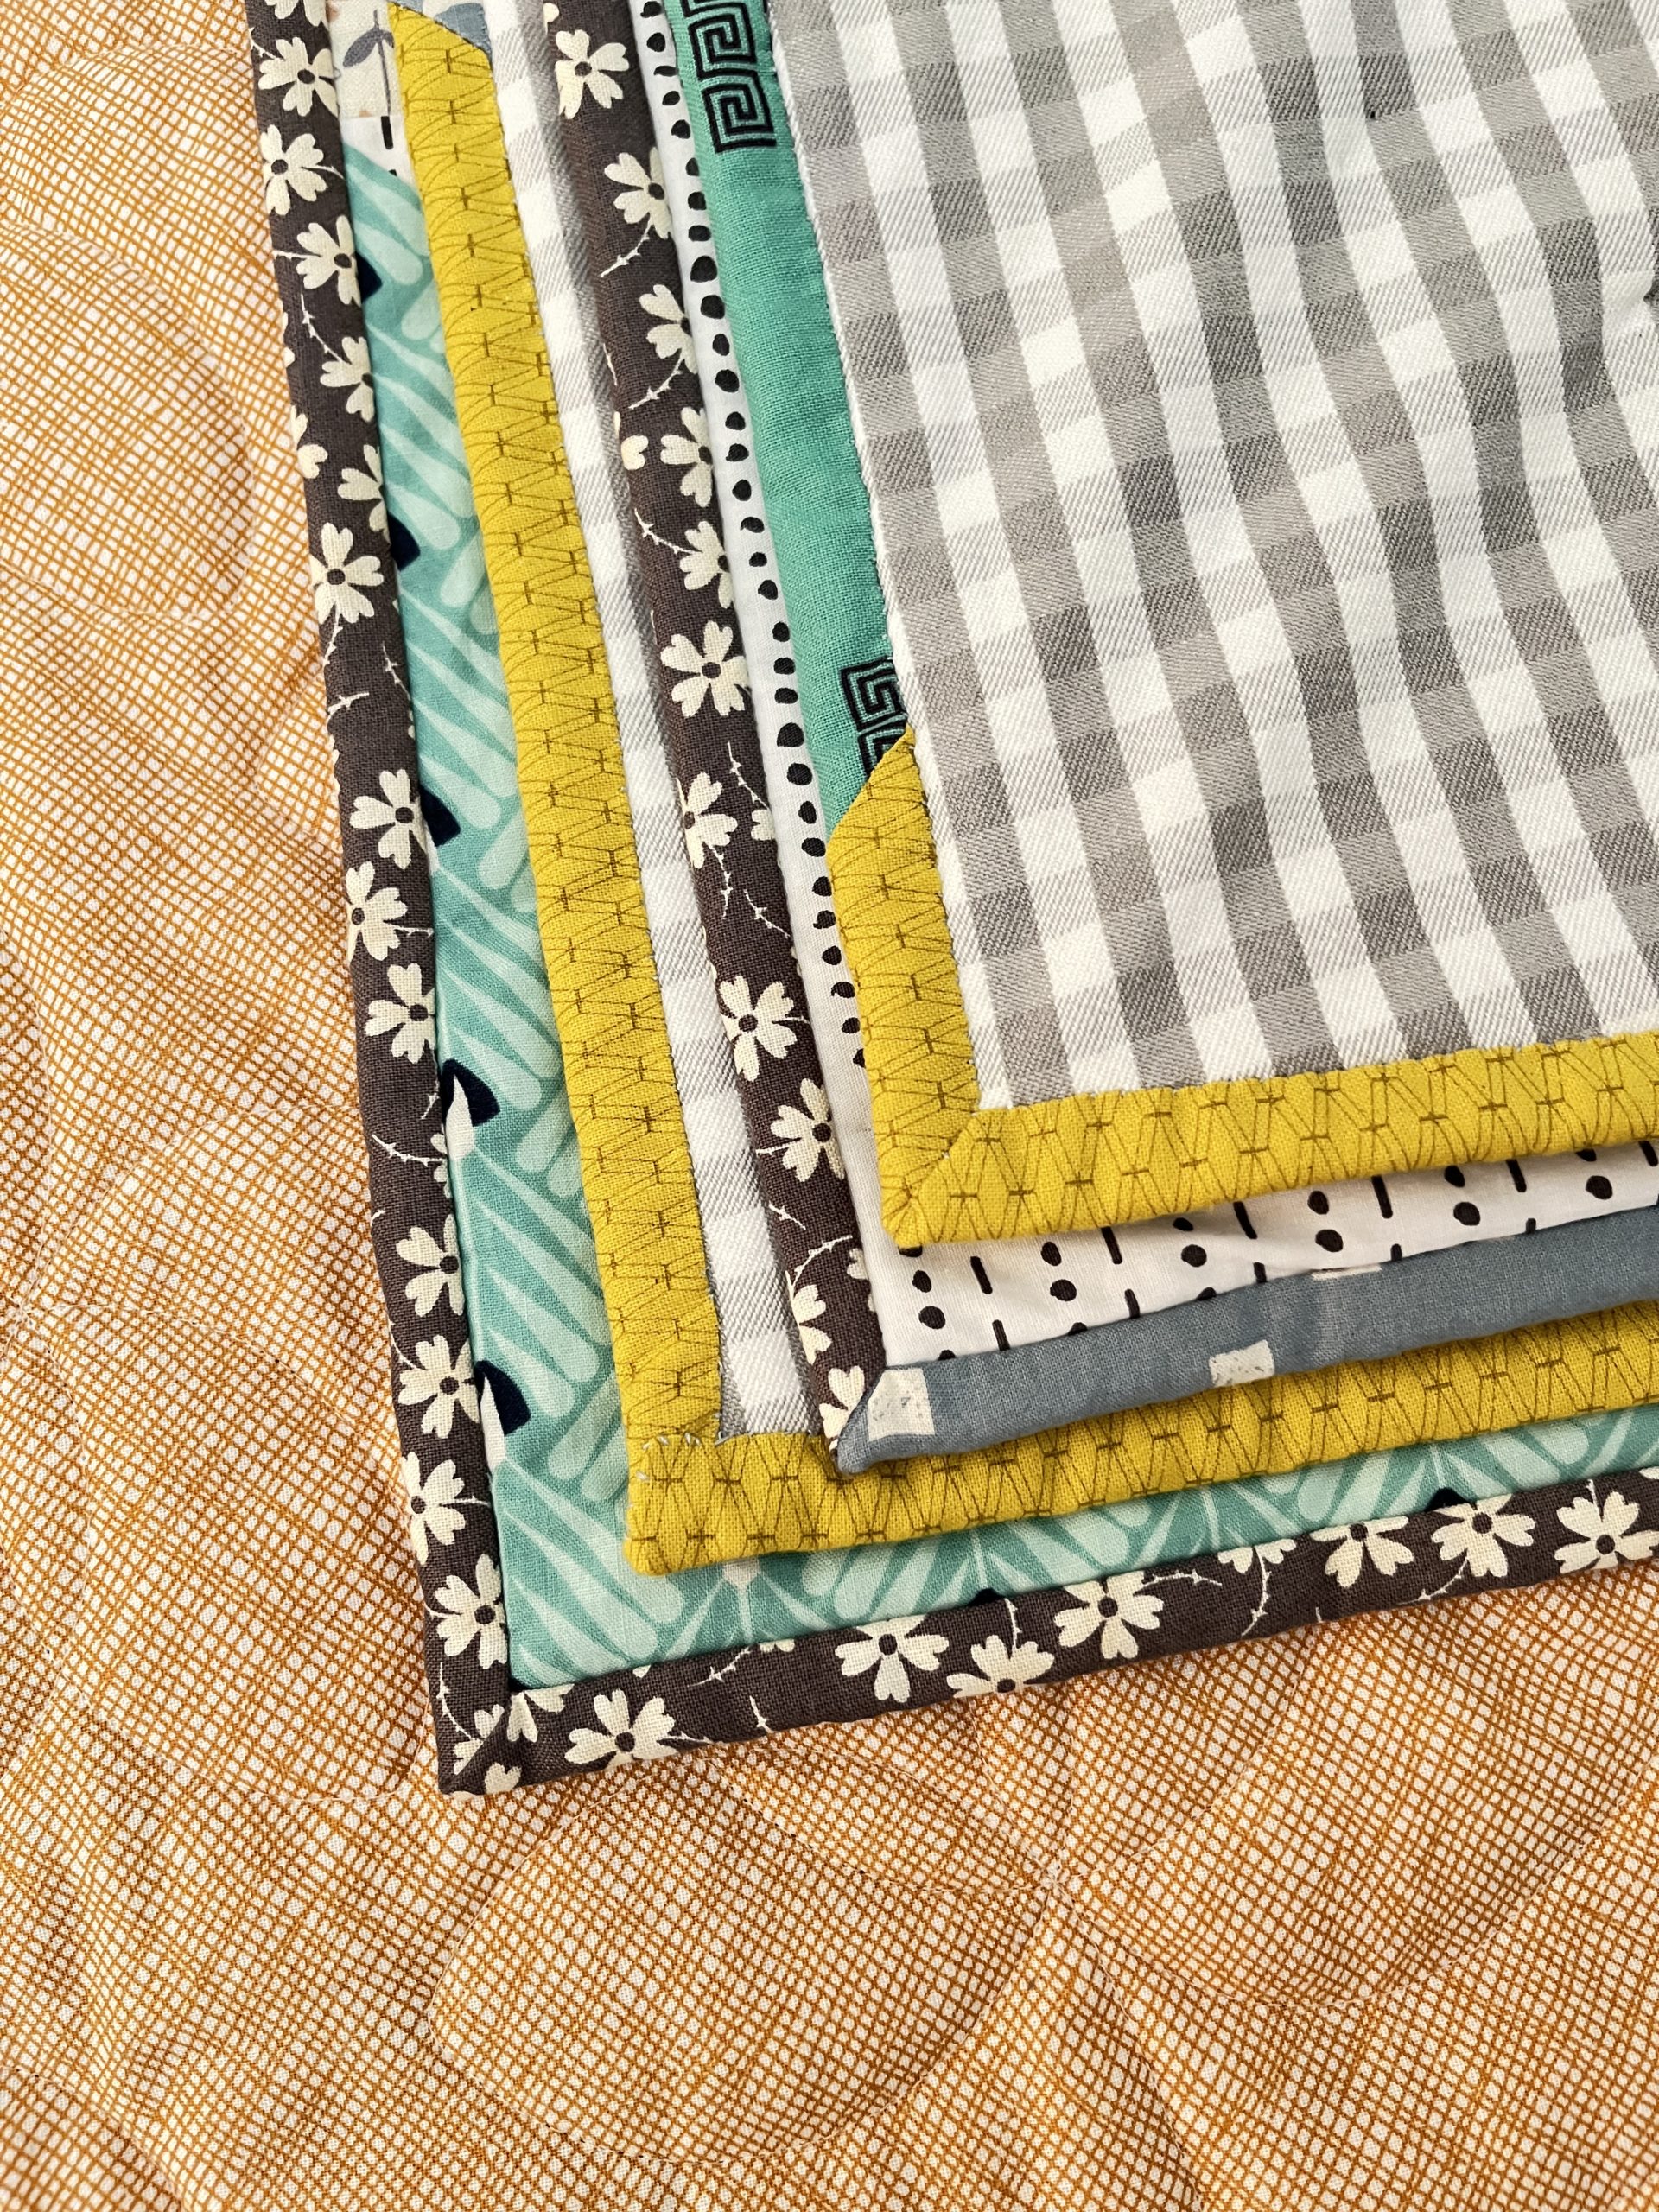
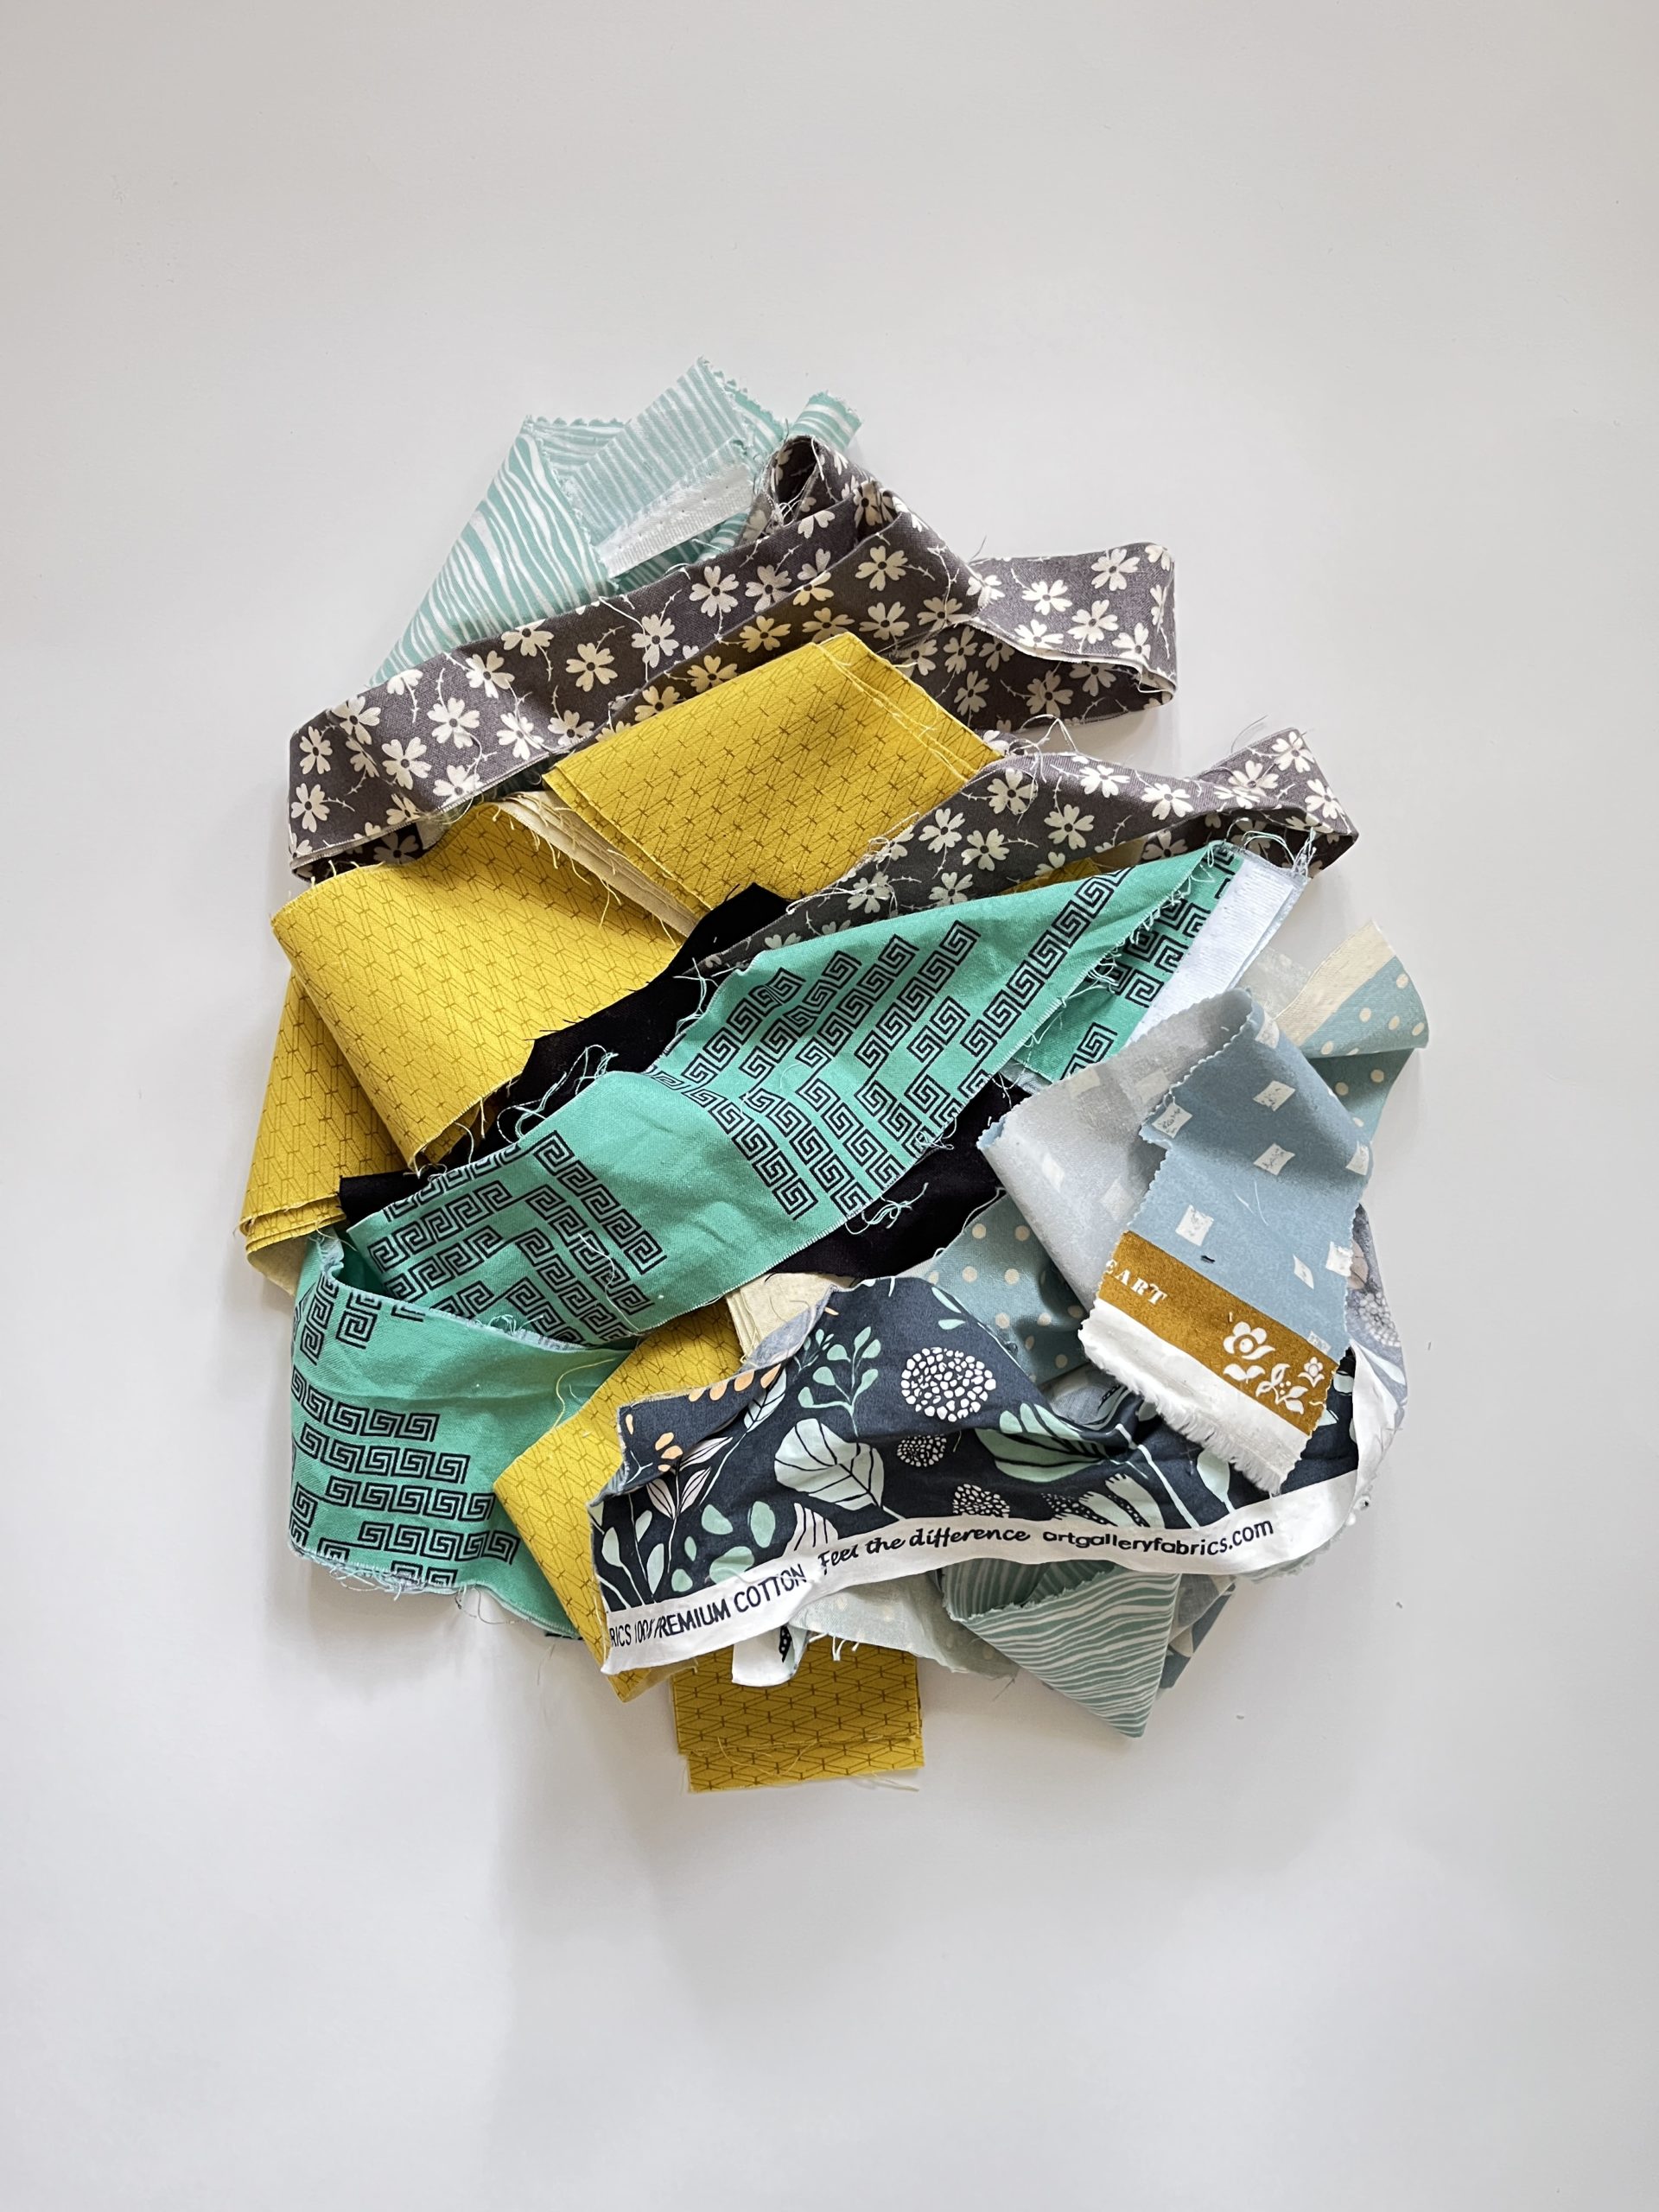
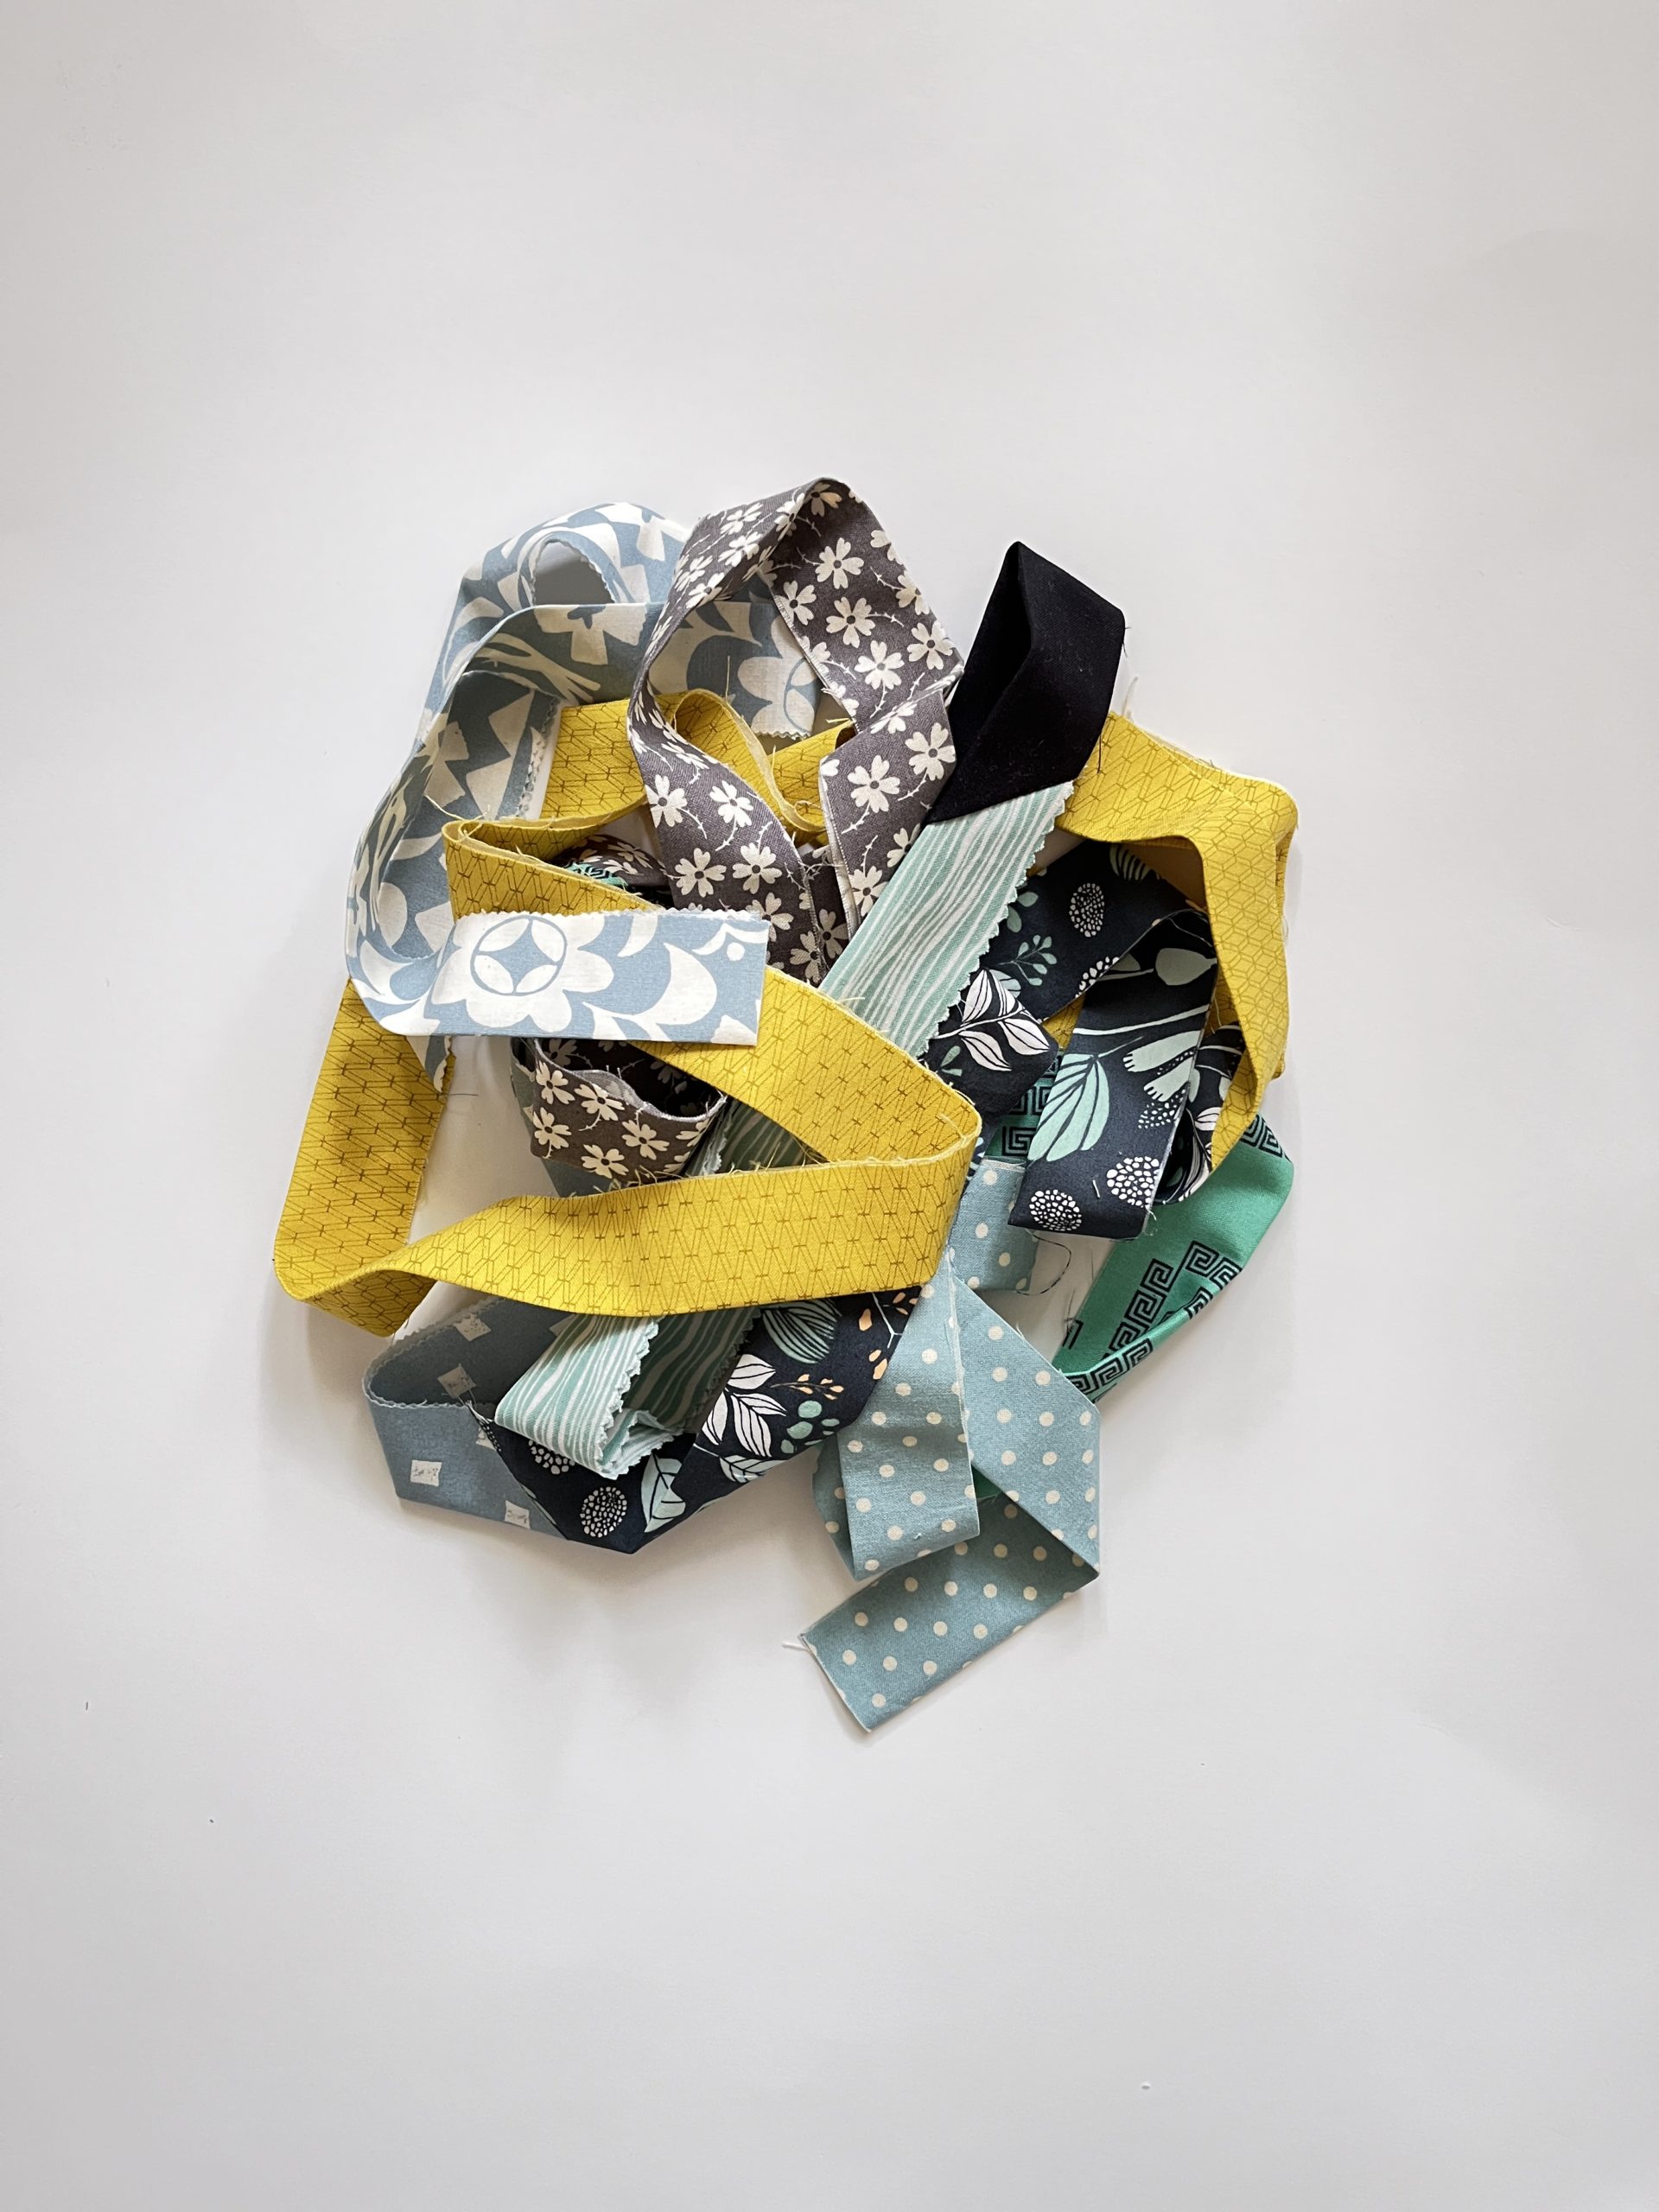
Have you ever made a scrappy binding? In the spirit of making do and using what I already have in my stash, I raided my “long strips” scrap bin for my latest binding, and thought I’d capture the process so I could share it with you.
Calculate how much quilt binding you need
Step one is to figure out how many fabric strips you need for your binding. There is a simple calculation that you can use for any quilt project: 2 x (quilt width + quilt length) + 12″. So for my 56″ x 56″ throw quilt, I needed 2 x (56″ + 56″) + 12″ = 236″.
Since we’re going scrappy, it’s okay to wing it a little here! I just kept pulling strips and roughly measuring until I was sure I had enough.
Press and trim strips to size
I like to use a nice, healthy, 2 1/2″ width for my binding strips. I think most people use something a little more slim, usually 2 1/4″, but I like to have a little wiggle room to make sure my front seam is covered over without too much struggle.
Join binding strips
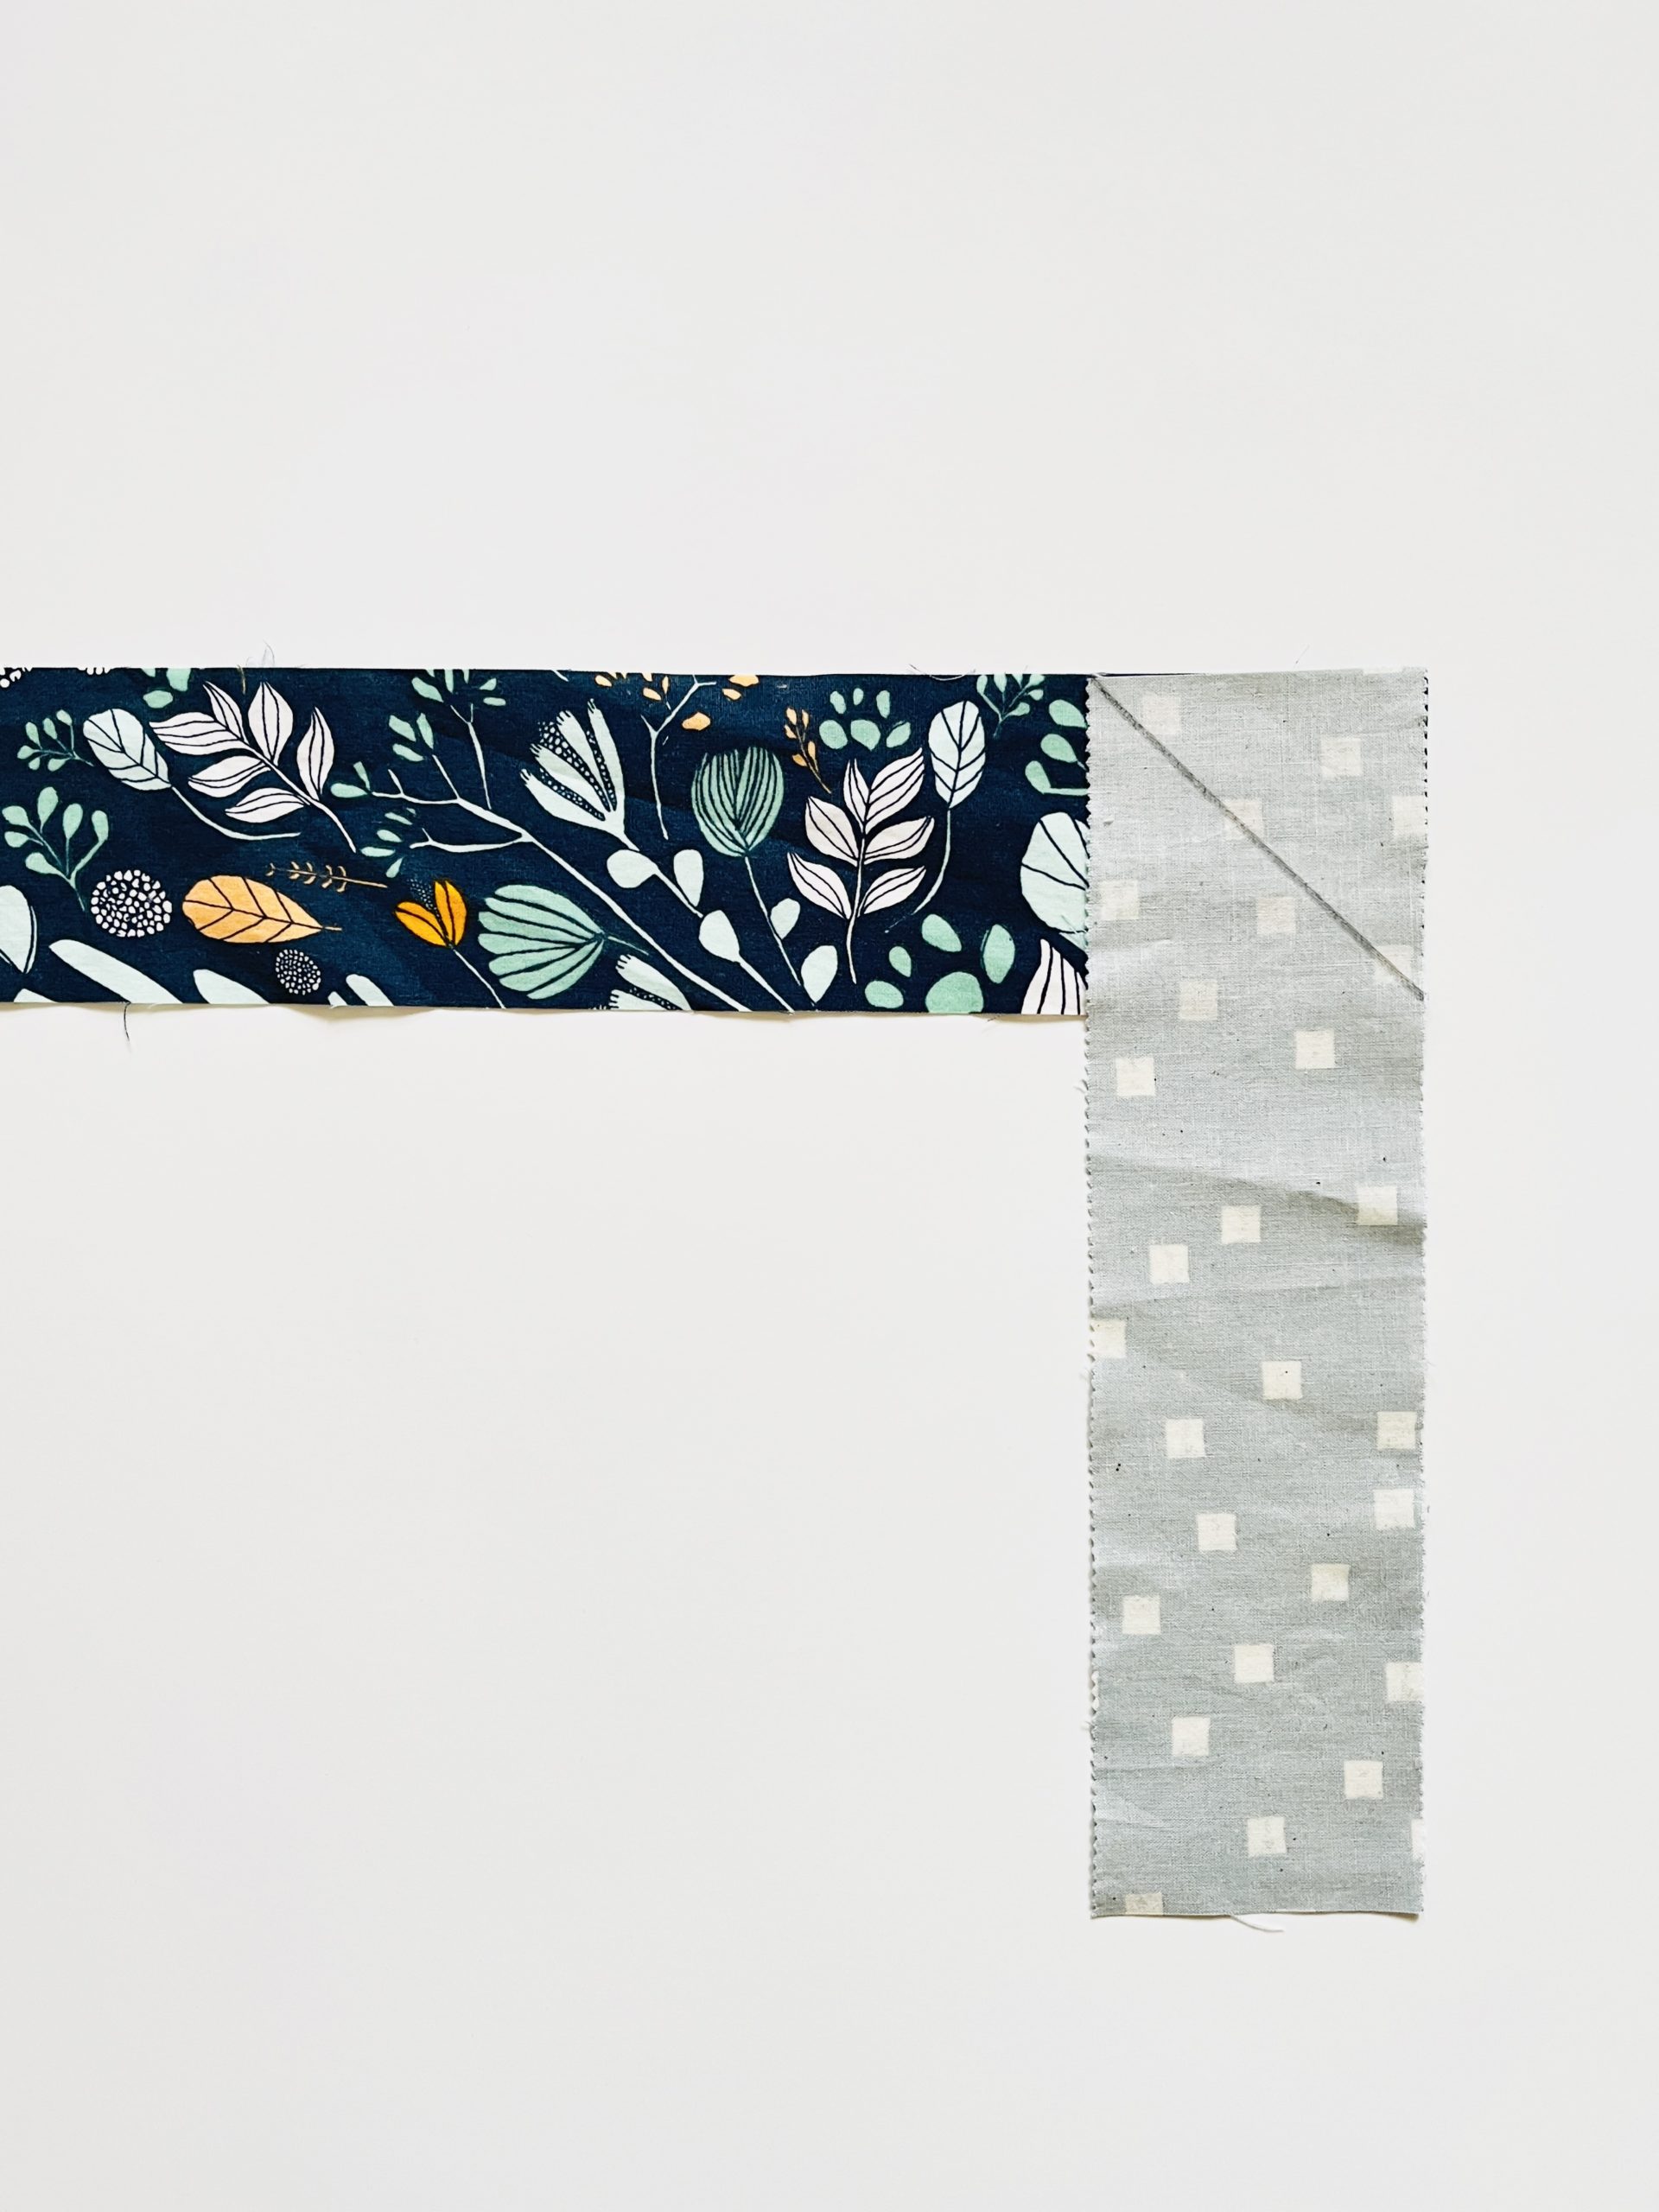
Once your binding strips are pressed and trimmed, use a heat erase marker to draw a diagonal line across one end of each strip. Position strips end to end as in the following diagram, then sew along the line and trim away the triangle portion 1/4″ away from the seam. Press open.
 Press lengthwise
Press the entire strip of binding lengthwise, wrong sides together.
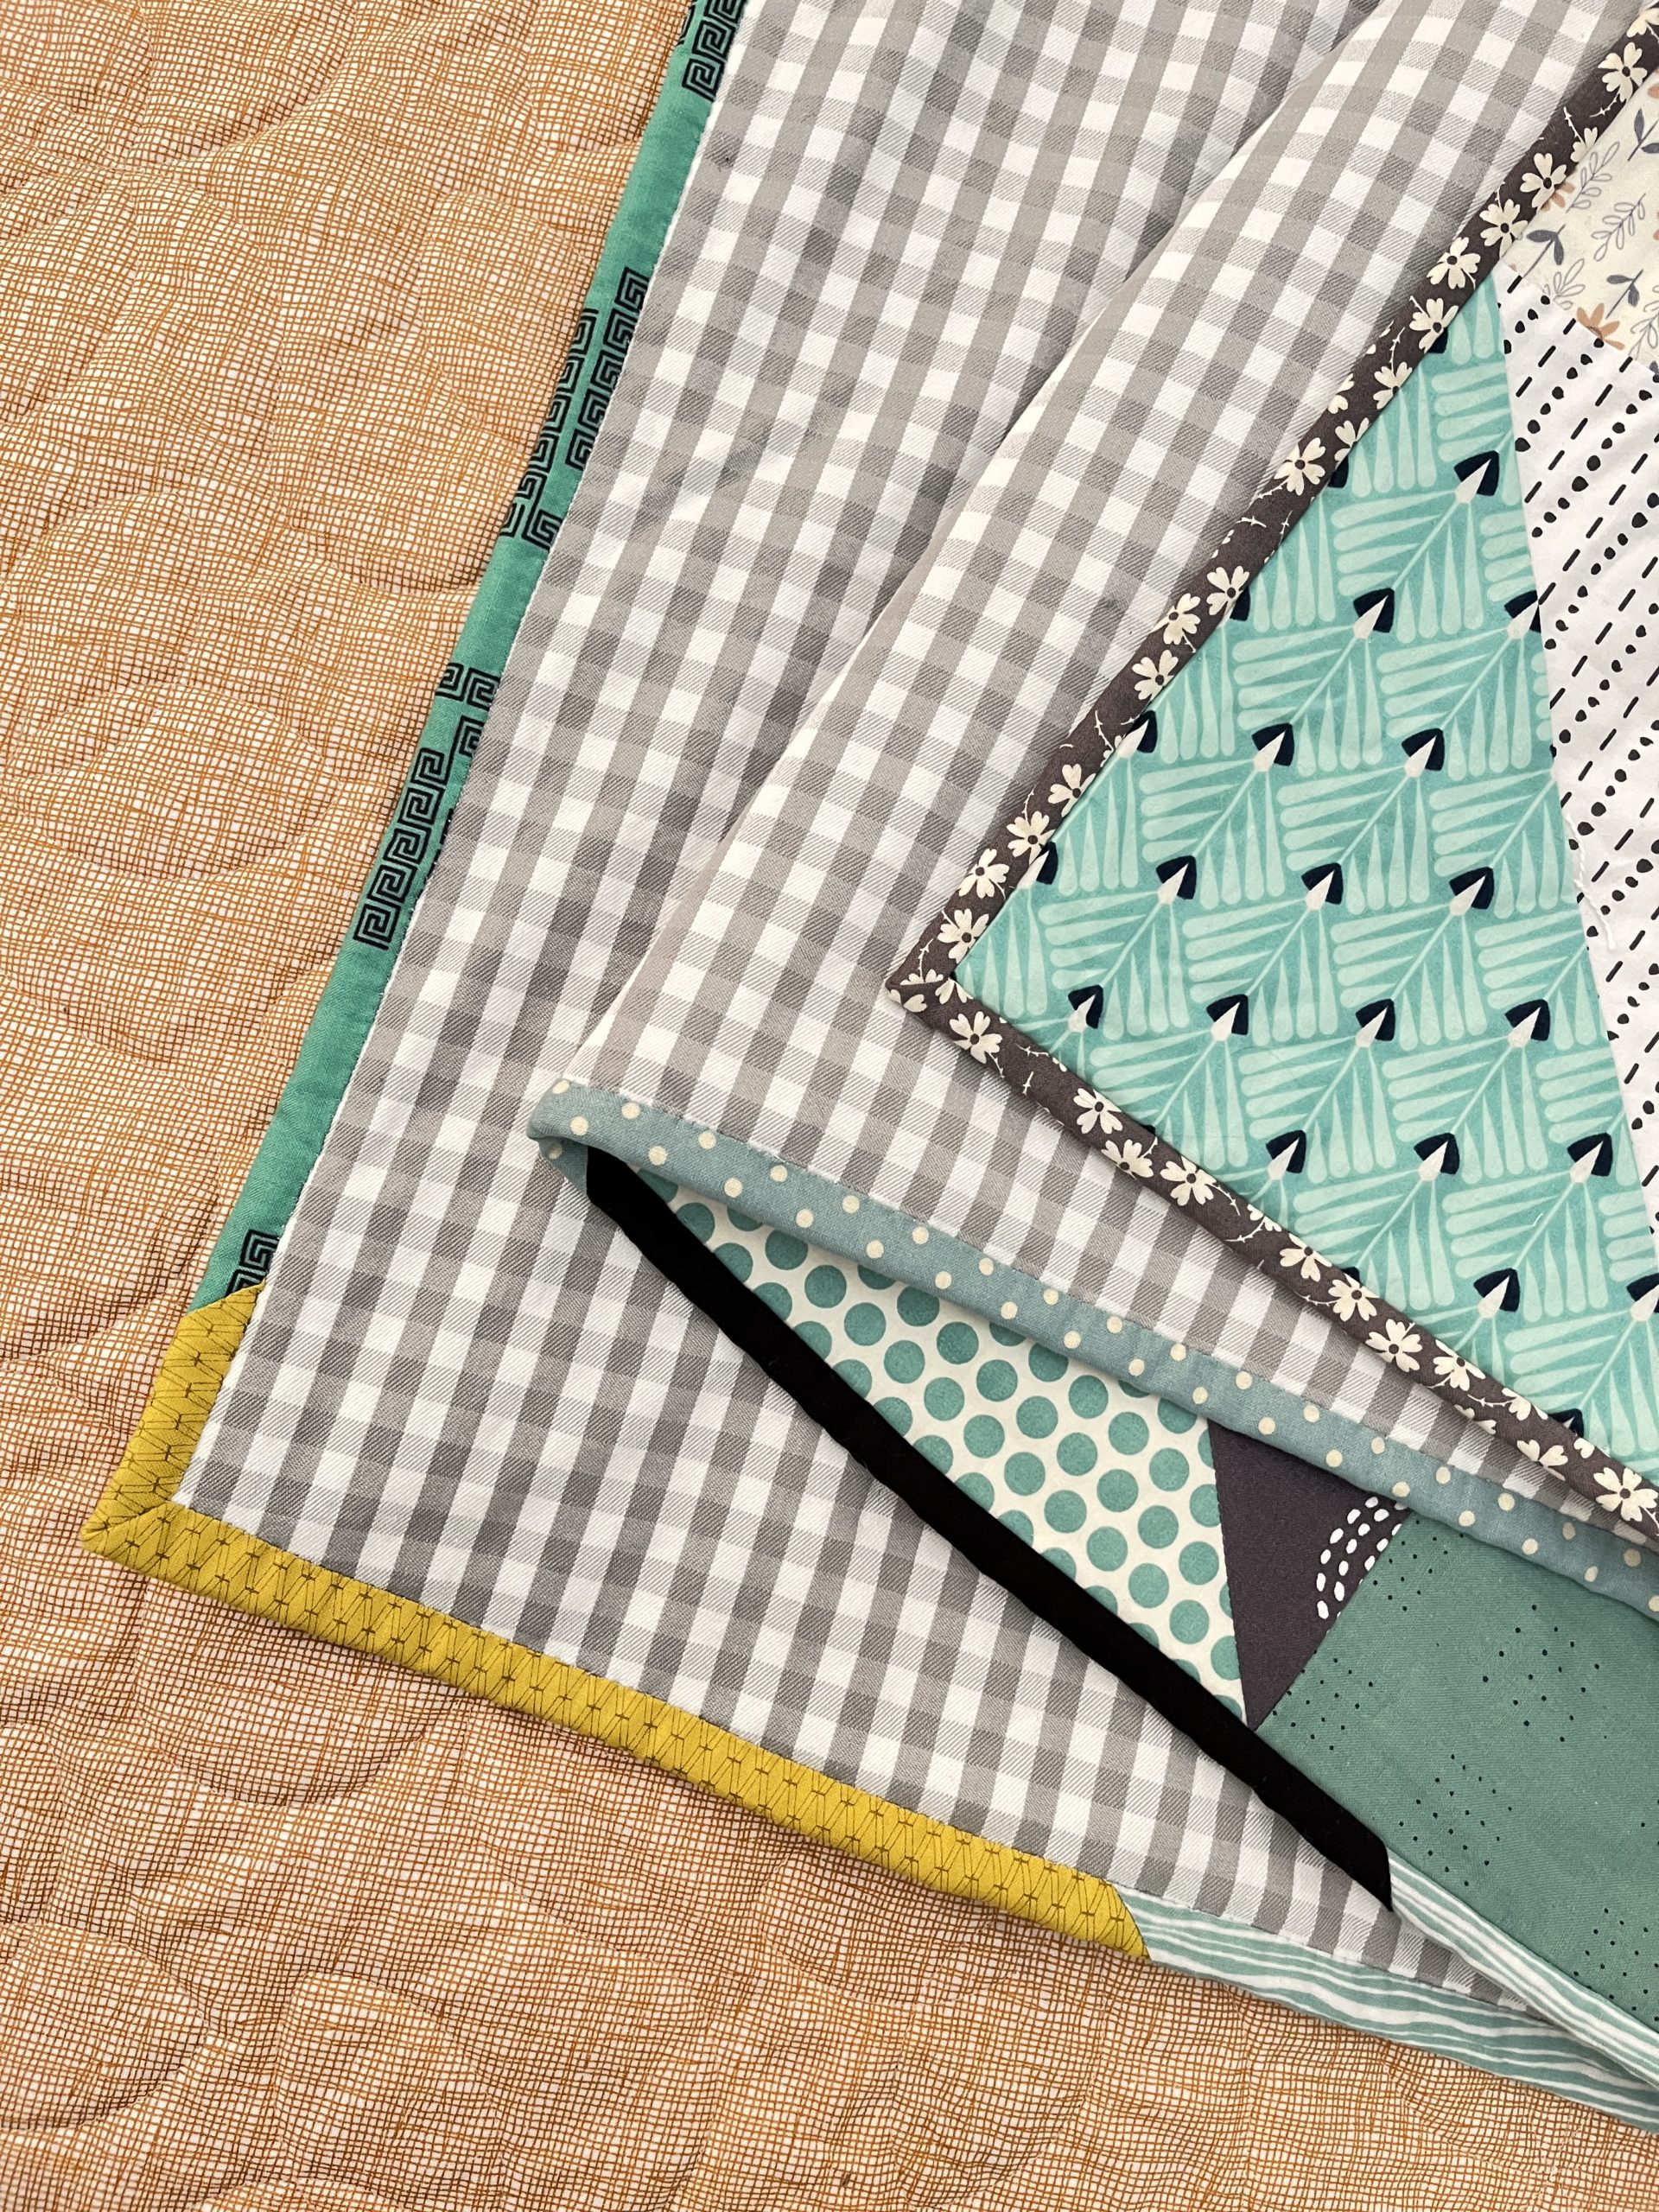
Attach your binding to the quilt
The last step is to attach your binding to the quilt! I like to first press the starting end of the binding at a 45 degree angle, wrong sides together. This way when you come all the way around the quilt you have a neat fold to tuck your binding under before finishing off. There are a bunch of different ways to sew and finish your binding, but here’s a video with all of the basics if you’ve never done this before.