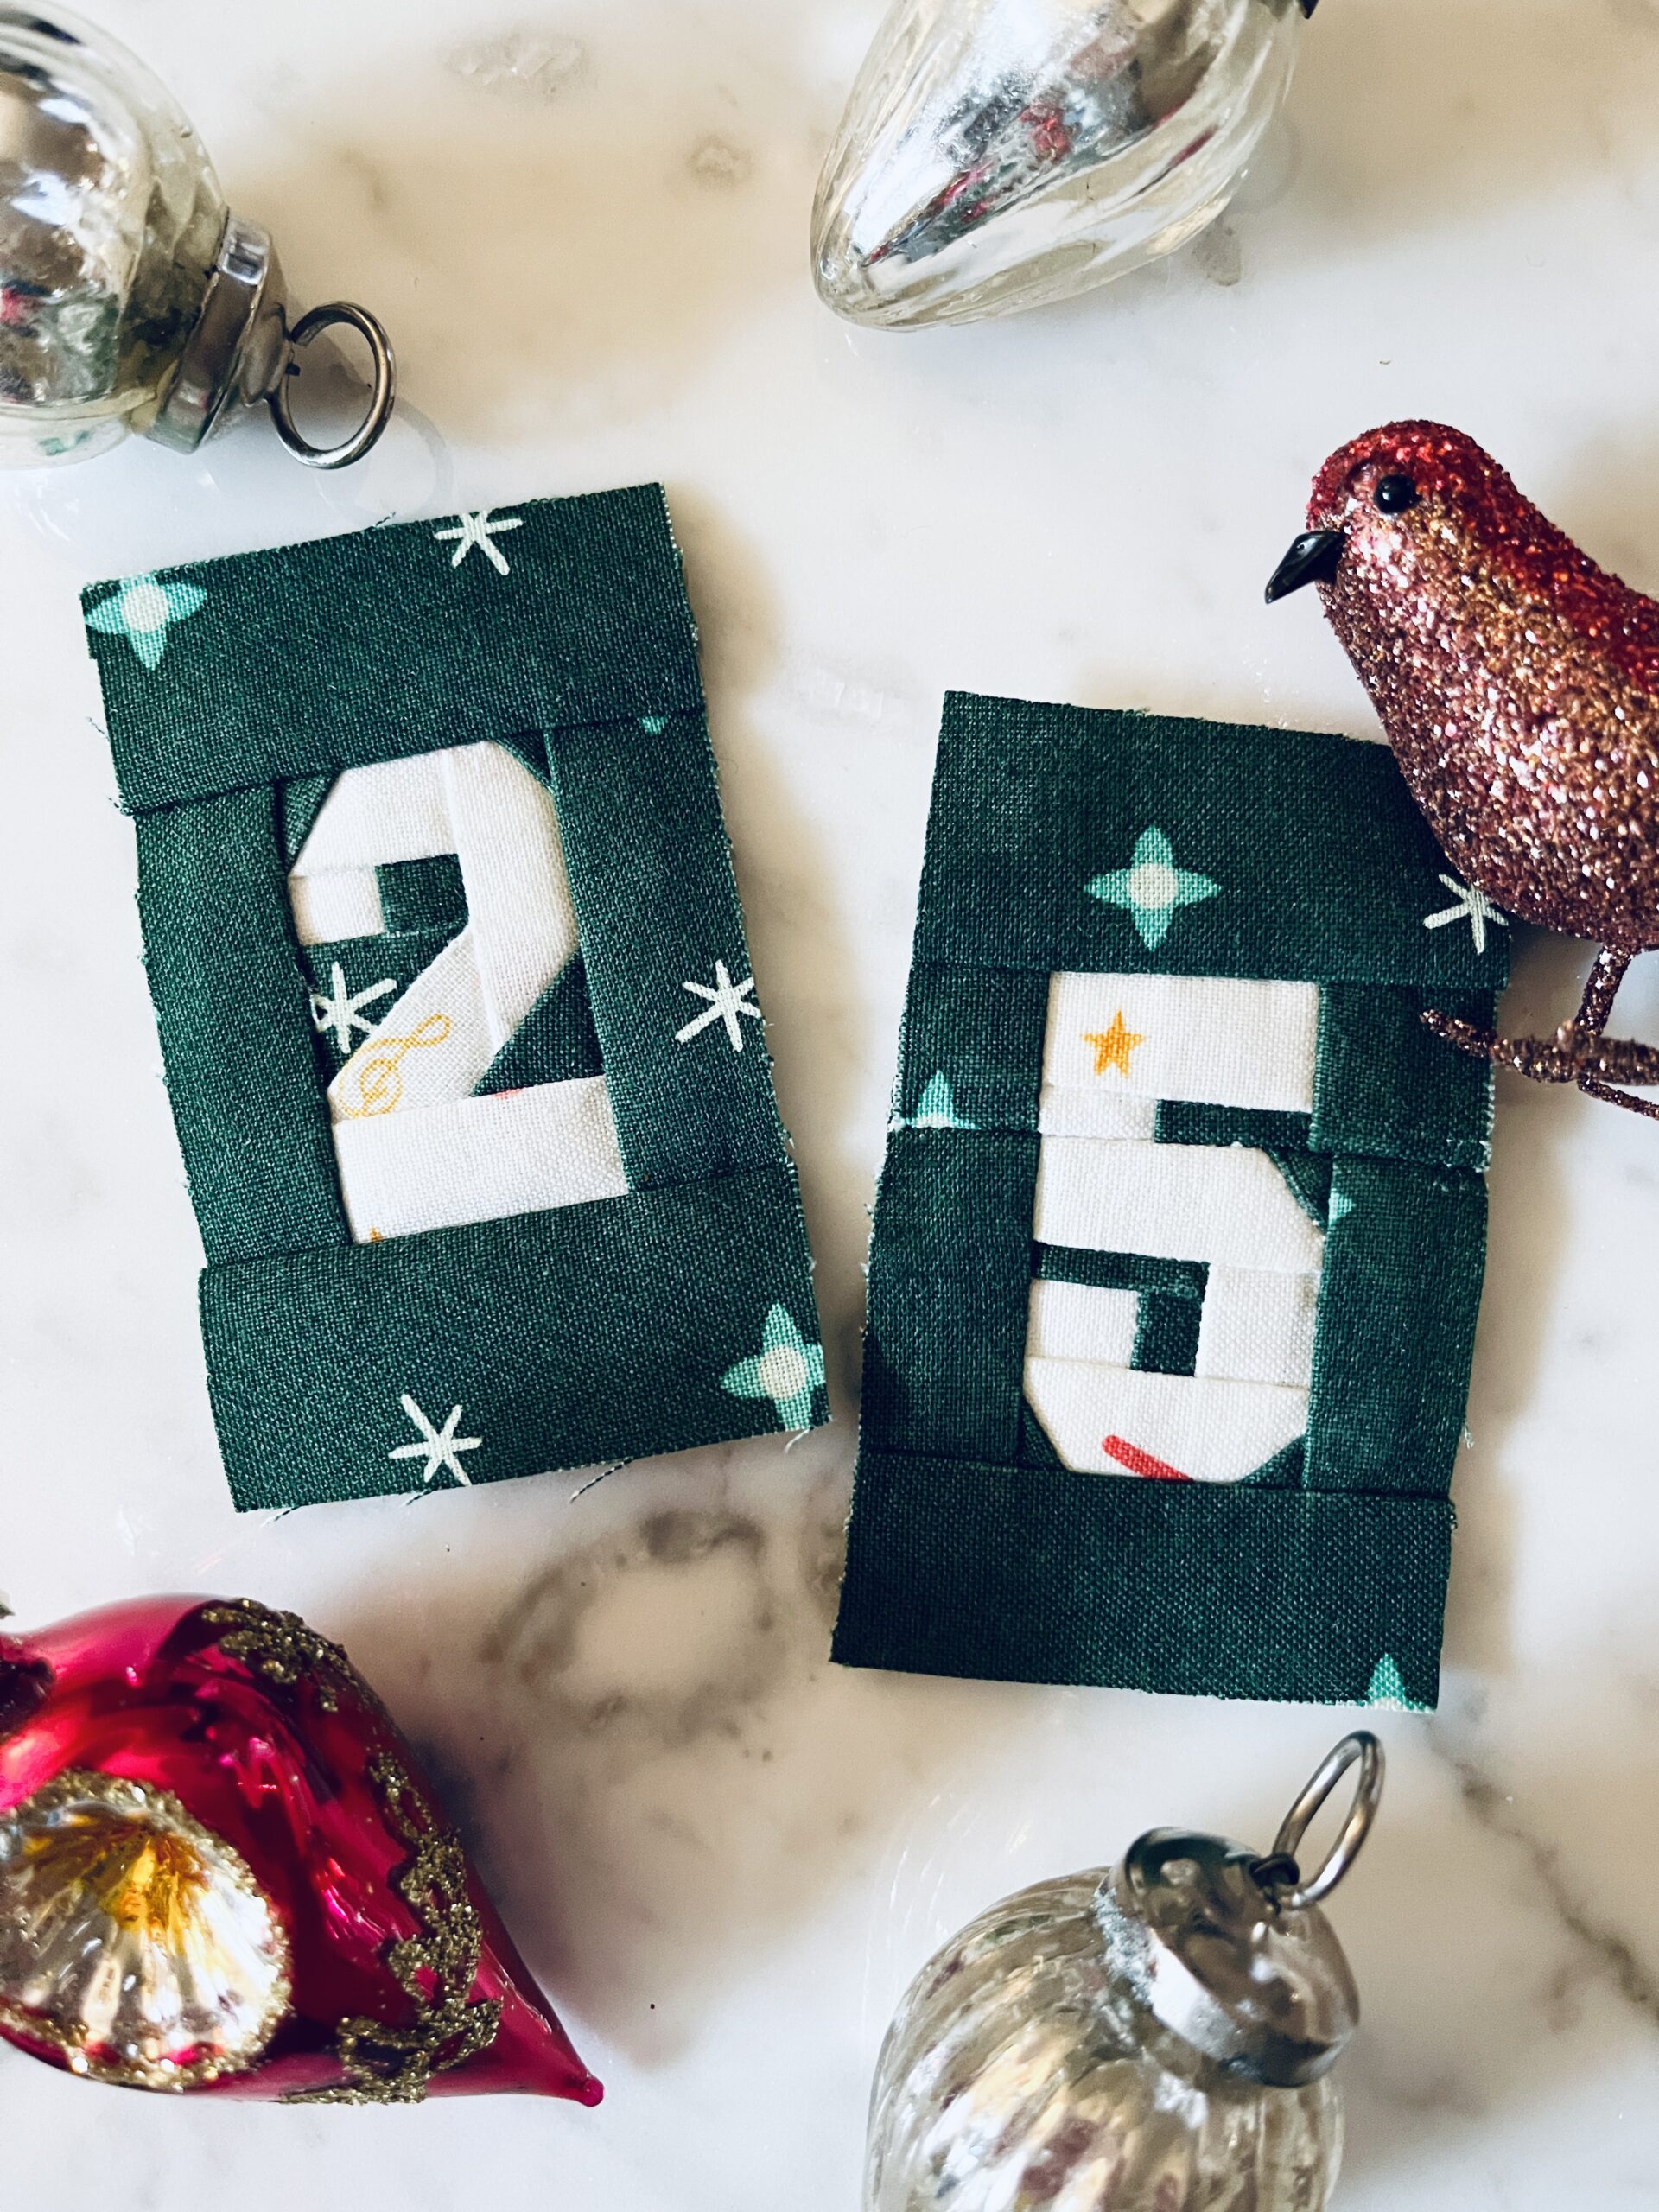
This past week I decided I’d add some suspense to my life with a brand new project: cloth advent calendar! Can I wing it without a pattern? Will I even finish by December 1st?! Stay tuned, we shall see. With Christmas projects there is always the option to put it in the “very early for next year” category and I am not above doing so (^_^).
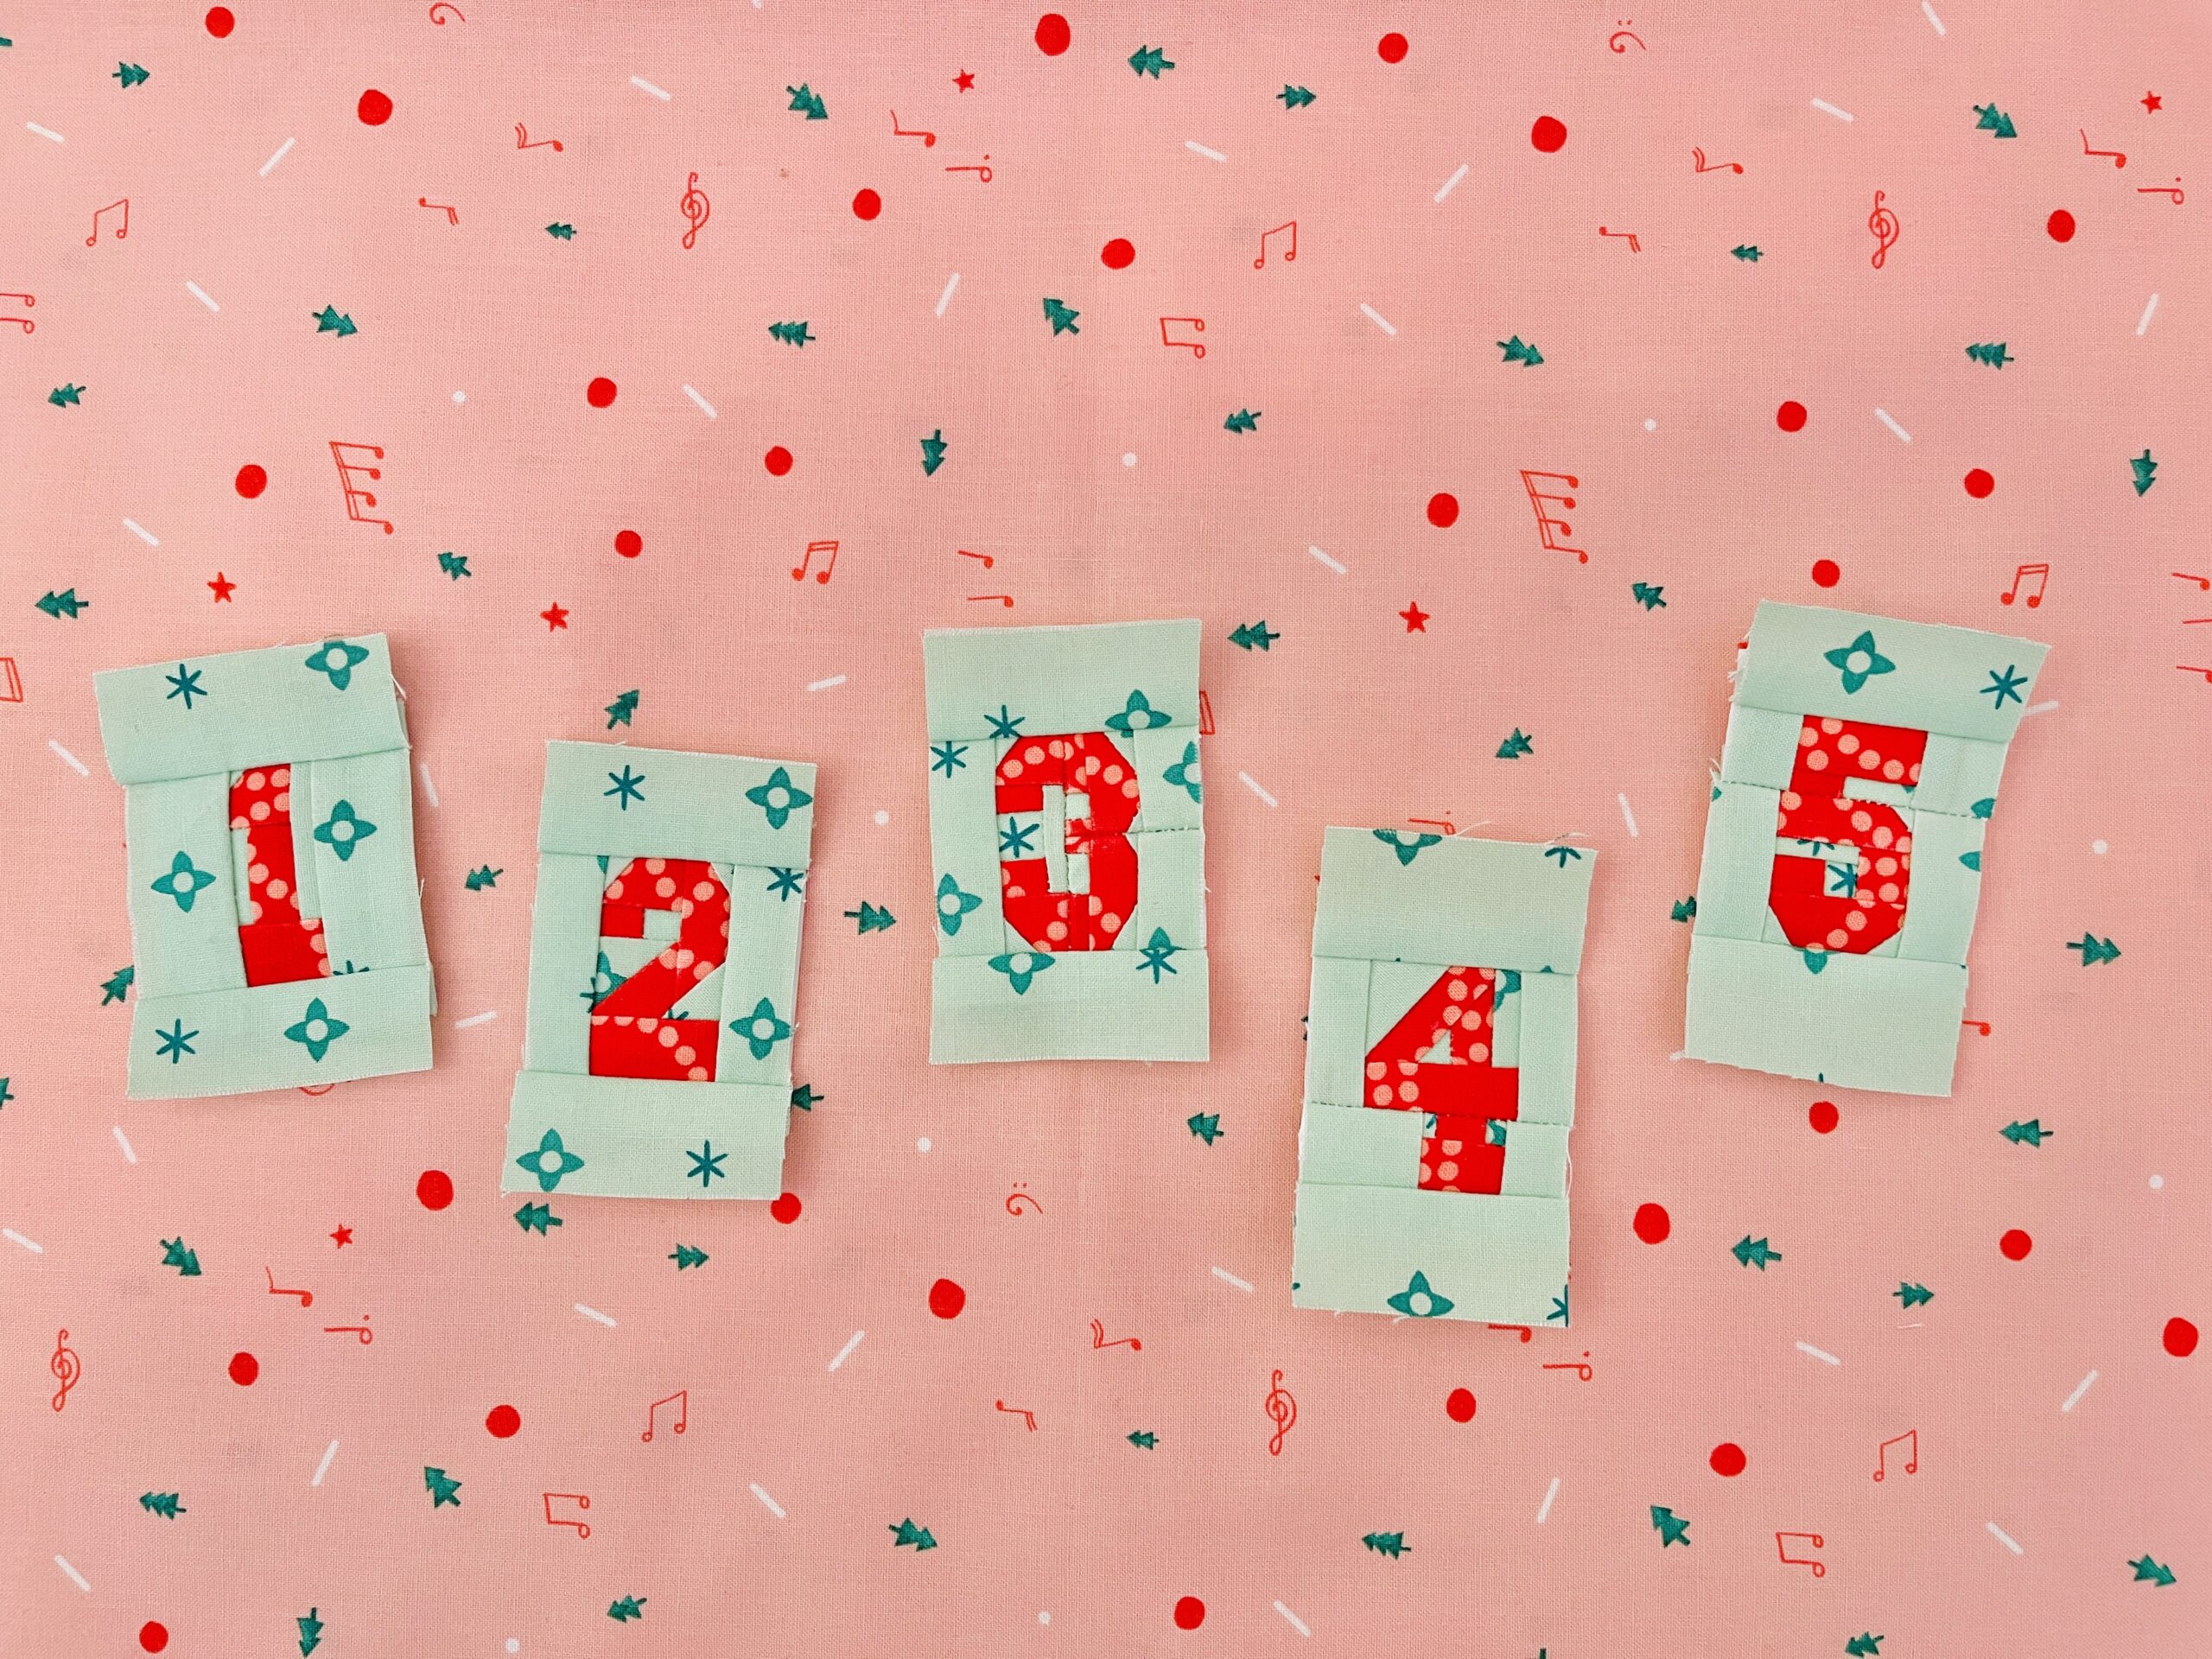 These guys are teensy!
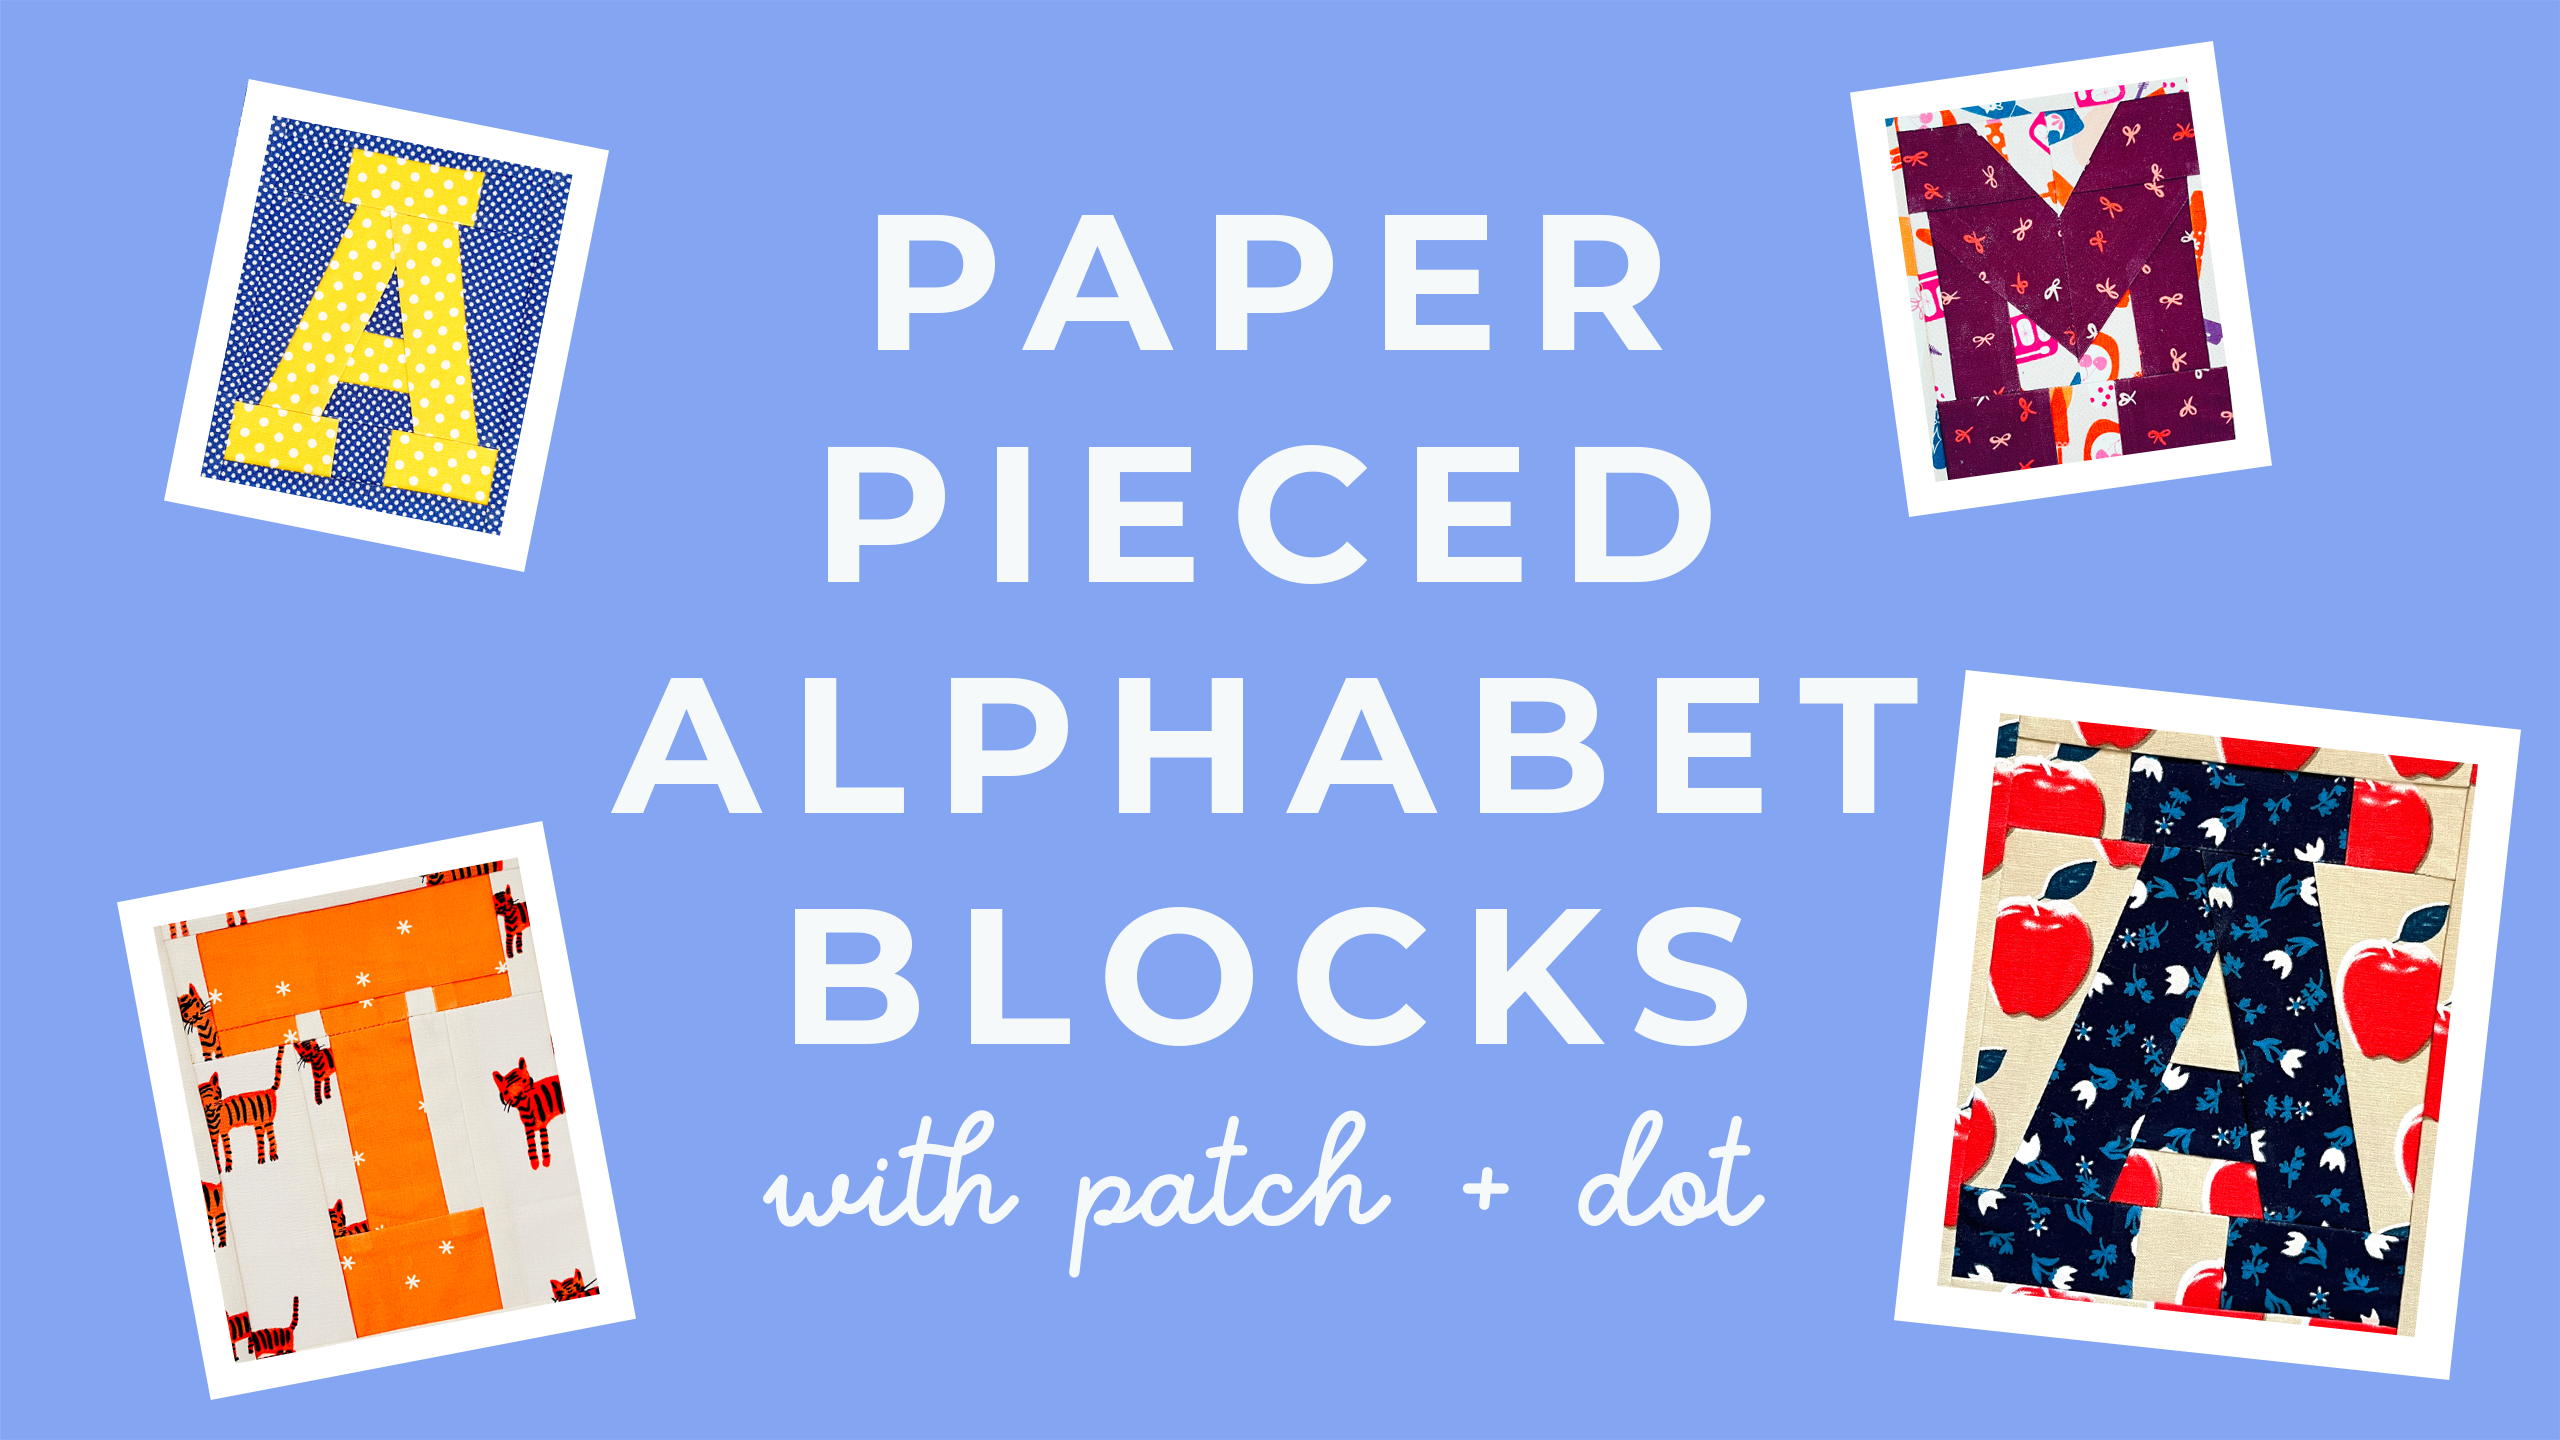
In the meantime I have some tips for you when it comes to paper piecing on a small scale. These blocks are from the Varsity set (which comes complete with letters, numbers, and punctuation) printed at 25% which puts the numbers themselves in at just 1.5″ high. That makes for some tiny pieces, but it’s doable with a little patience.
Strategies for paper piecing small blocks
- Remember to add back your seam allowance. When you print at a reduced scale, the outer seams will all but disappear, and you need to add them back to the block! You can do this with a pencil and ruler before cutting the paper units, or eyeball it and just use larger bits of fabric around the perimeter as you go.
- Use a lightweight paper. A cheaper paper (dollar stores can be a great source!) can actually be better in this context. OR …
- Skip a step. Don’t tell anyone, but for this advent calendar I’m making, I’m not actually going to tear off the paper backing. I don’t think it will ever need to be washed, and it will actually add some needed structure, so I’m just going to leave it in.
- Save your scraps! You’d be amazed how the little bits you trim while piecing end up being the perfect fit for a block down the line.
- Take short cuts. Once you get the hang of it, for some patterns you may start to see opportunities to eliminate some detail, reducing the overall number of steps in a given block. This is a bit improvisational but can save some time.
New to paper piecing? I’ve got a video tutorial over here where you can try out the letter A. Let me know if you have any questions!