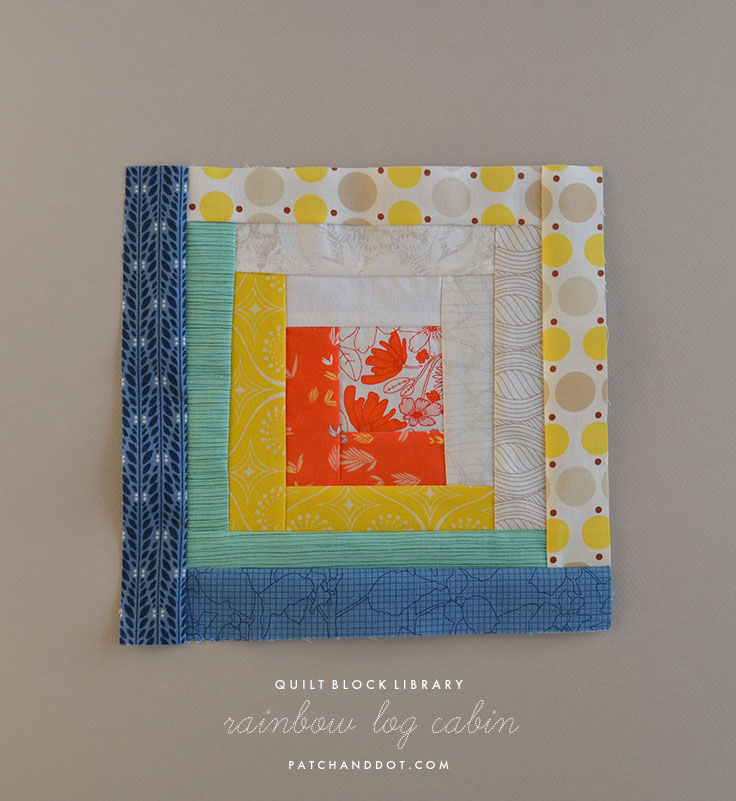
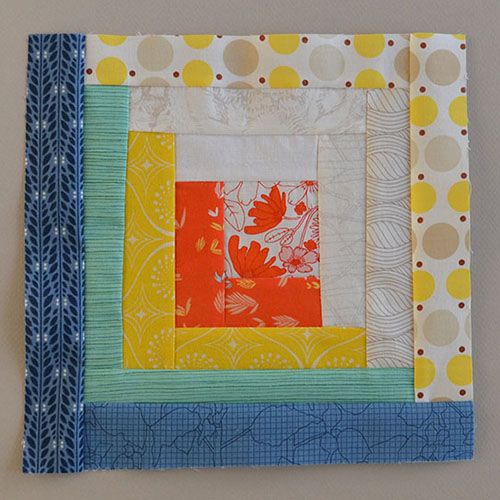
This week I tried my hand at a log cabin block, and I took notes! The following steps will get you one rainbow log cabin block with a finished size of 9.5 inches (so that’s 9 inches after it’s joined up with other blocks). For a bigger block, simply add more strips.
Materials
- thread
- 1 2.5 x 2.5 inch piece of fabric for the center (I chose a print that combines the colours of the first coloured and low-volume strips)
- 10 assorted white or low-volume strips, 1.5 inches wide
- 2 each of 5 different coloured strips, 1.5 inches wide – you can see I left out purple and orange but doubled up on blue, and you can improvise accordingly to get the rainbow you want
If you don’t want to wing it on the strip lengths, see the steps below for specific measurements. Consider the lengths listed to be a minimum recommendation. I like every strip to be at least a half an inch longer than the side it’s being sewn to; sew one strip, trim it up (as pictured at right), then continue.
Steps
- Cut the following pieces and sew them together in the order illustrated in the photo below. So, so piece B to the top of piece A, piece C to the right of pieces A and B, and so on, trimming up after each step.
- 2.5 x 2.5 inch center square
- 2.5 x 1.5 inch red strip
- 3.5 x 1.5 inch red strip
- 3.5 x 1.5 inch white strip
- 4.5 x 1.5 inch white strip
- 4.5 x 1.5 inch yellow strip
- 5.5 x 1.5 inch yellow strip
- 5.5 x 1.5 inch white strip
- 6.5 x 1.5 inch white strip
- 6.5 x 1.5 inch green strip
- 7.5 x 1.5 inch green strip
- 7.5 x 1.5 inch white strip
- 8.5 x 1.5 inch white strip
- 8.5 x 1.5 inch blue strip
- 9.5 x 1.5 inch blue strip
- Square up the block.
Notes
The instructions above are for a single block, and you can use them to make as few or as many as you like. For a great way to make a bunch, assemble-line style, check out this method from Stitches in Play.
photo credit : patch + dot, all rights reserved (but feel free to share, of course!)


