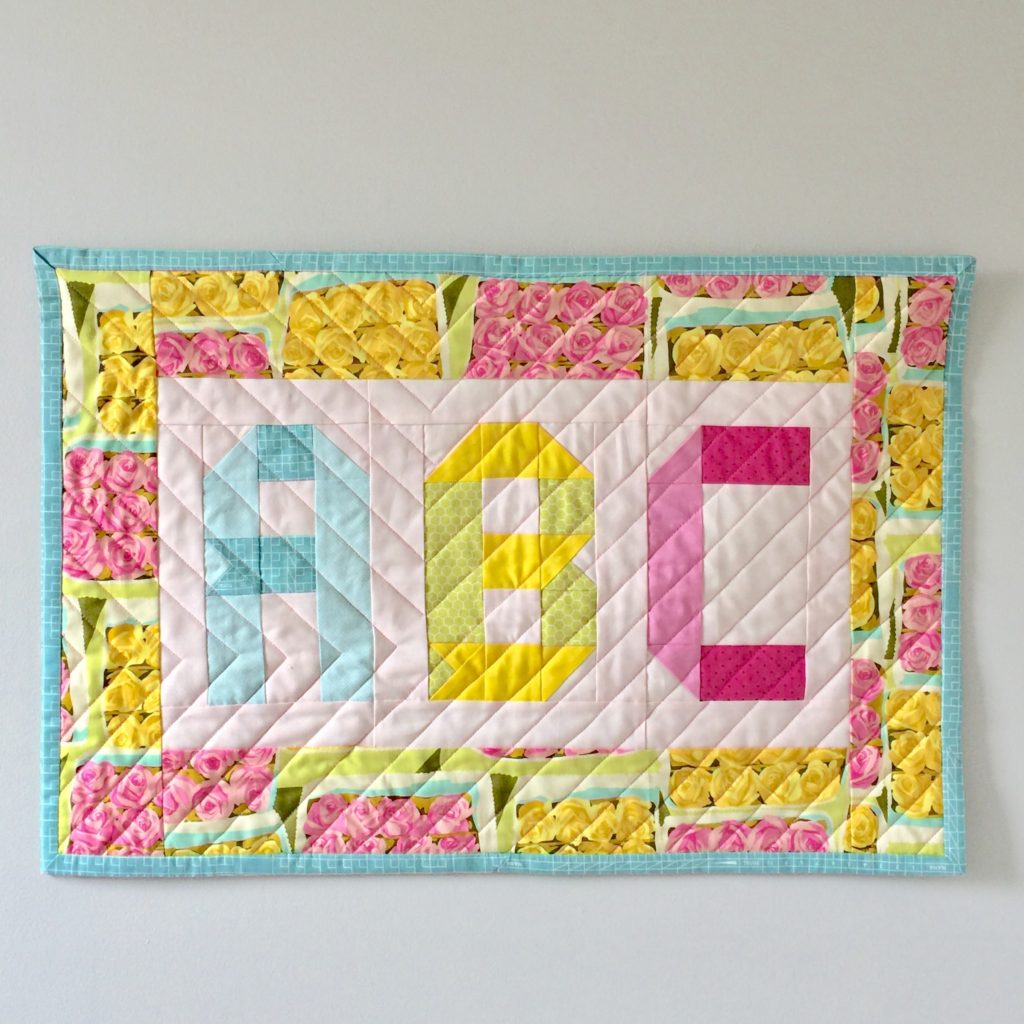
Wondering how to turn a few quilt blocks into a mini quilt/wall hanging? Today I’ll walk you through it using my free Ribbon Letters ABC block pattern as an example.
The steps below include instructions that you can use to hang any small quilt … just cut three 3.5″ squares and follow steps 11 to 13 after you quilt but before you put on your binding.
Finished size
17″ x 25.5″
Fabric
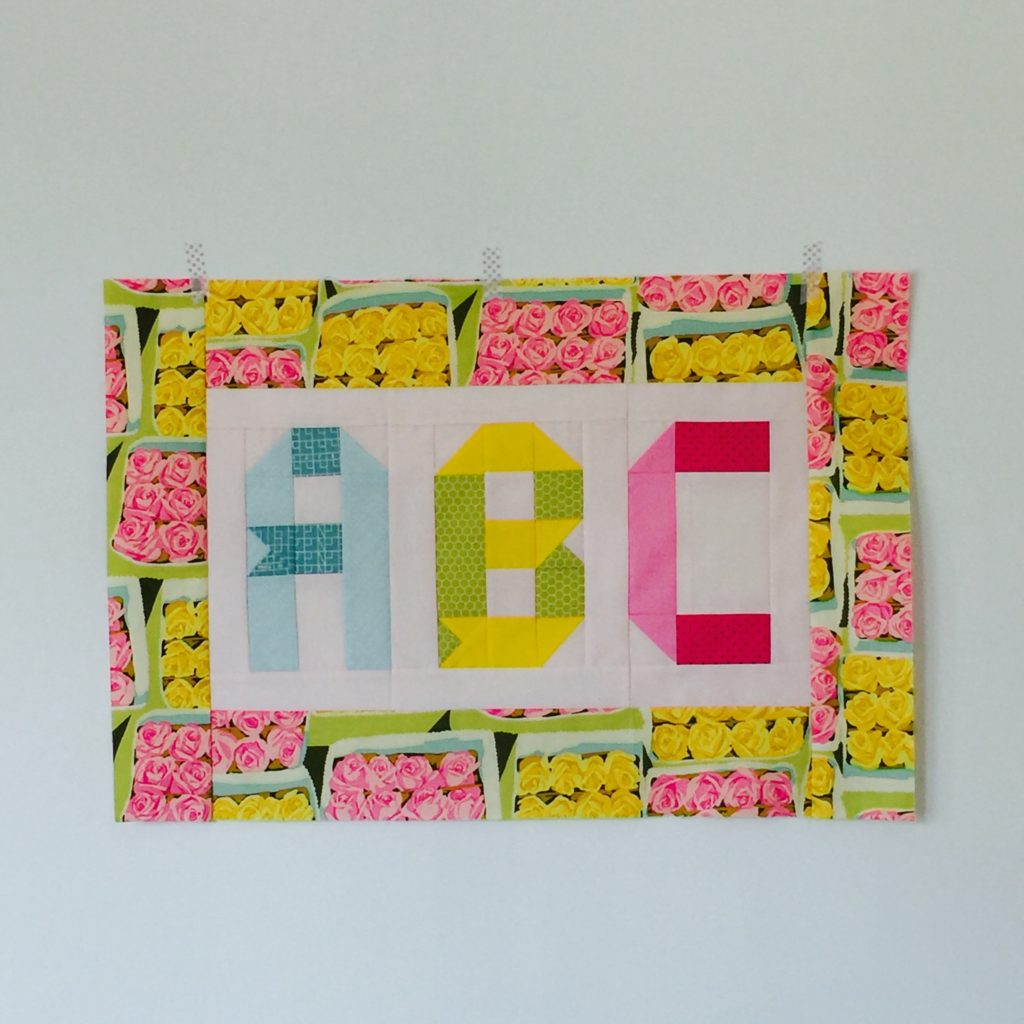
In addition to fabric for the Ribbon Letter blocks you will need to cut the following pieces for the surrounding parts of the mini:
Background fabric (the same colour you used for the background in your blocks)
Four 2″ x 8″ pieces
Two 2″ x 20″ pieces (in the photos I’ve used smaller scraps to make pieces totalling 20″ in length)
Border fabric (in the photos, this is the floral)
Two 3.75″ x 20″ pieces (for the top and bottom)
Two 3.5″ x 17.5″ pieces (for the sides)
For the back
You can adjust the batting/backing dimensions up or down depending on how much buffer you like to have.
Three 3.5″ squares
Batting: 19″ x 27.5″
Backing: 21″ x 29.5″
For the binding
Strips 2.25 inches wide, totaling 112.5 inches in length.
Steps
- Make your A, B, and C blocks using the free pattern, which you can download here. (Make them without borders initially – we’ll add borders in the steps below.)
- Pin and sew A to B using a 2″x 8″ background piece.
- Pin and sew B to C using a 2″x 8″ background piece.
- Pin and sew a 2″x 8″ background piece to the left side of A, and another to the right side of C.
- Press all seams flat.
- Pin and sew a 2″ x 20″ piece to the top and bottom. Press. There may be a little overhang, so trim at this point if necessary.
- Pin and sew the two 3.75″ x 20″ border pieces to the top and bottom. Press and trim.
- Pin and sew the two 3.5″ x 17.5″ border pieces to the left and right sides. Press and trim.
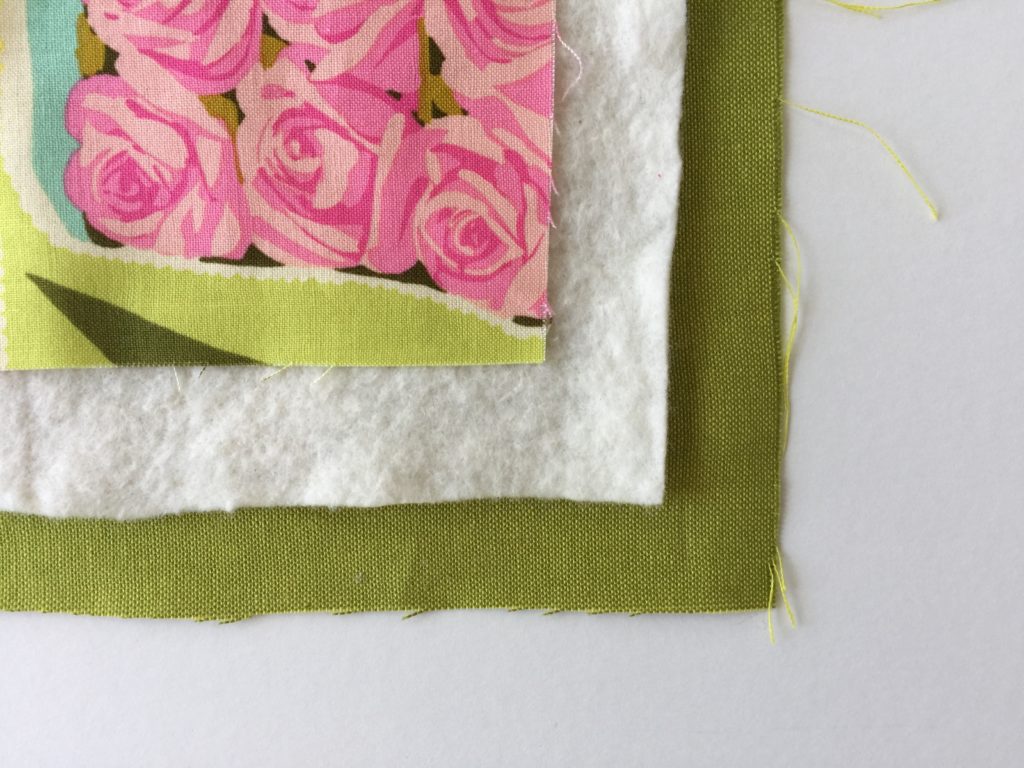
- Make your quilt sandwich, being sure that your batting is a little larger than your front, and that your back is a little larger again than your batting.
- Pin and quilt using your preferred method. I quilted this sample using an assymmetric pattern of diagonal lines.
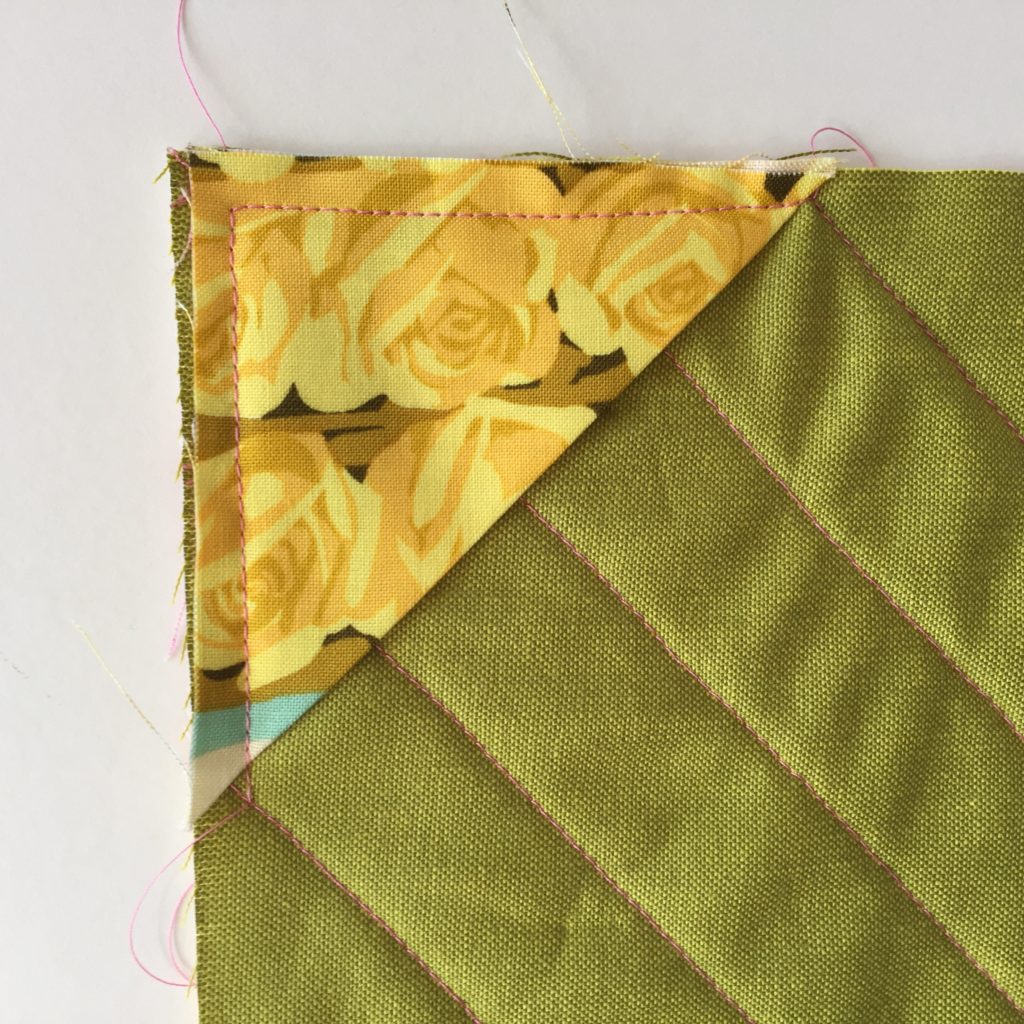
- Take two of your 3.5″ squares and press diagonally. Pin each triangle to the top right and left corners of your quilt back, then sew the rough edges closed, 1/4″ from the sides. Leave the folded side open. This is the little pocket that will hold your doweling.
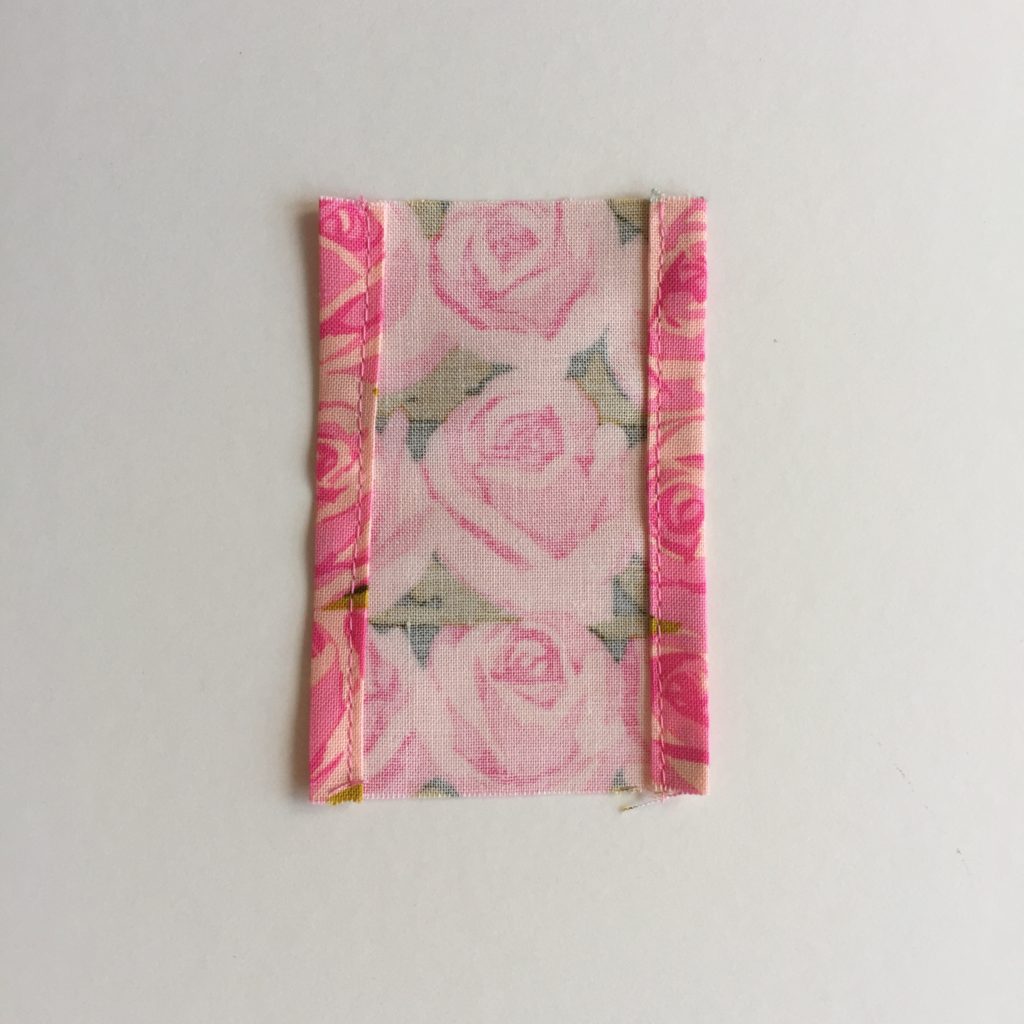
- Take the third 3.5″ square and press the left and right sides 1/4″ to the wrong side. Press over another 1/4″ again, then sew closed, as in the following picture.
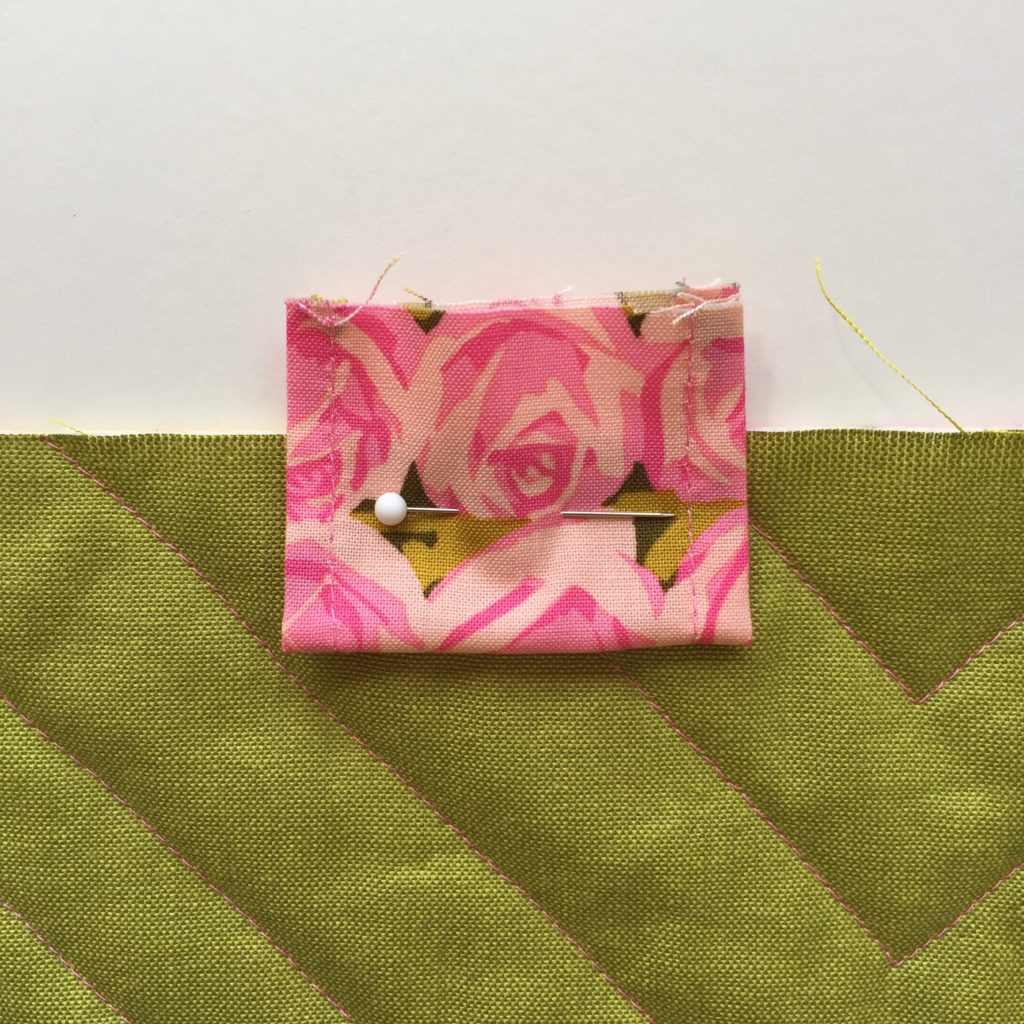
- Pin this piece to the top middle of the back of your quilt. Adjust its position so that it is just large enough to enclose the piece of dowling, ruler/yardstick, or other material you are using to hang the quilt. Try it in place, wrapped around your doweling, to be sure, and place your pin accordingly. Sew the piece to the quilt, 1/4″ away from the edge. Trim away any excess. All the rough lines will be covered up by your binding!
- Bind using your preferred method. One of my favourite continuous binding tutorials by Heather Bailey is here. I cut binding strips 2.25 inches wide, totaling 112.5 inches in length.
To hang your mini quilt
At this point your options for hanging depend on how and where you want to put this on your wall. You might loop a ribbon or wire around the doweling and hang it so that the ribbon is above the quilt, or you might attach a small metal hook or hoop to the center loop on the back so that you can hang the quilt directly on a nail or painting hook. Either way the doweling will keep your mini straight and at full width.
Linking up with Sew Fresh Quilts Let’s Bee Social and Crazy Mom Quilts Finish it Up Friday.


I love this hanging technique. I use it all the time for wall hangings. The addition of the center loop makes it really usable for larger wall hangings. Even my DH loves it. Only 1 or 2 tiny nails to hang up a wall hanging and it is so easy to change out seasonal ones. I mark the dowels with the names of the quilts. So use the correct length dowel for each one.
Judy I love that idea of labelling the dowels!
This is such a cute wall hanging – perfect for a nursery! I love those ribbon letters. And thanks so much for sharing the tutorial for the handy hanging tabs!
Thanks so much Lorna!